Outline
How to insert an image in PowerPoint
How to remove the background of an image in PowerPoint
How to adjust the colours of a picture in PowerPoint
How to apply colour filters to Picture in PowerPoint
How to apply Artistic Effects to a picture in PowerPoint
How to adjust the transparency of pictures in PowerPoint
How to Compress Pictures in PowerPoint
How to Reset Picture in PowerPoint
How to apply quick styles to a picture in PowerPoint
How to change Picture in PowerPoint
Benefits of changing picture features in PowerPoint
How to insert an image in PowerPoint
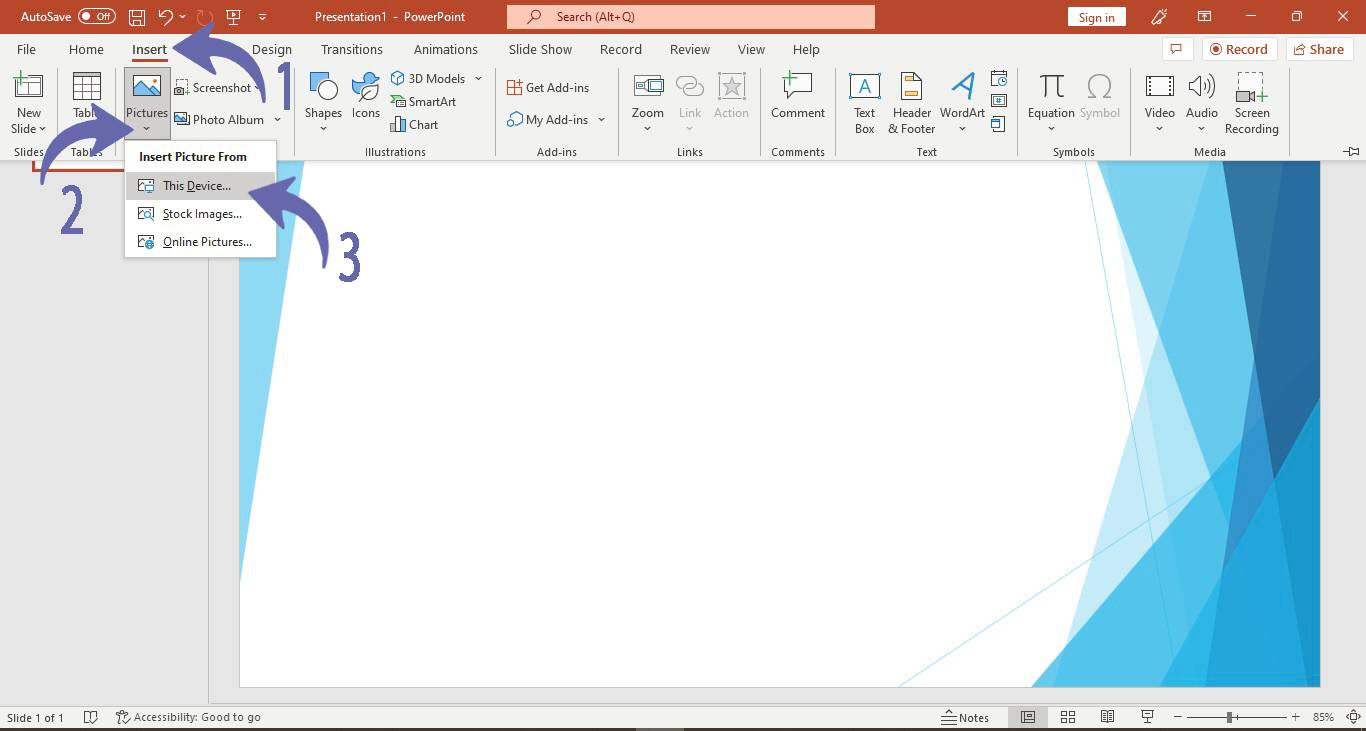
1. Go to the “Insert” tab
2. From “Image group”, click “Picture”
3. A dropdown panel will appear with image insert options i.e.,
Browse images, pictures from files, stock images and online pictures
4. Select your image insert option
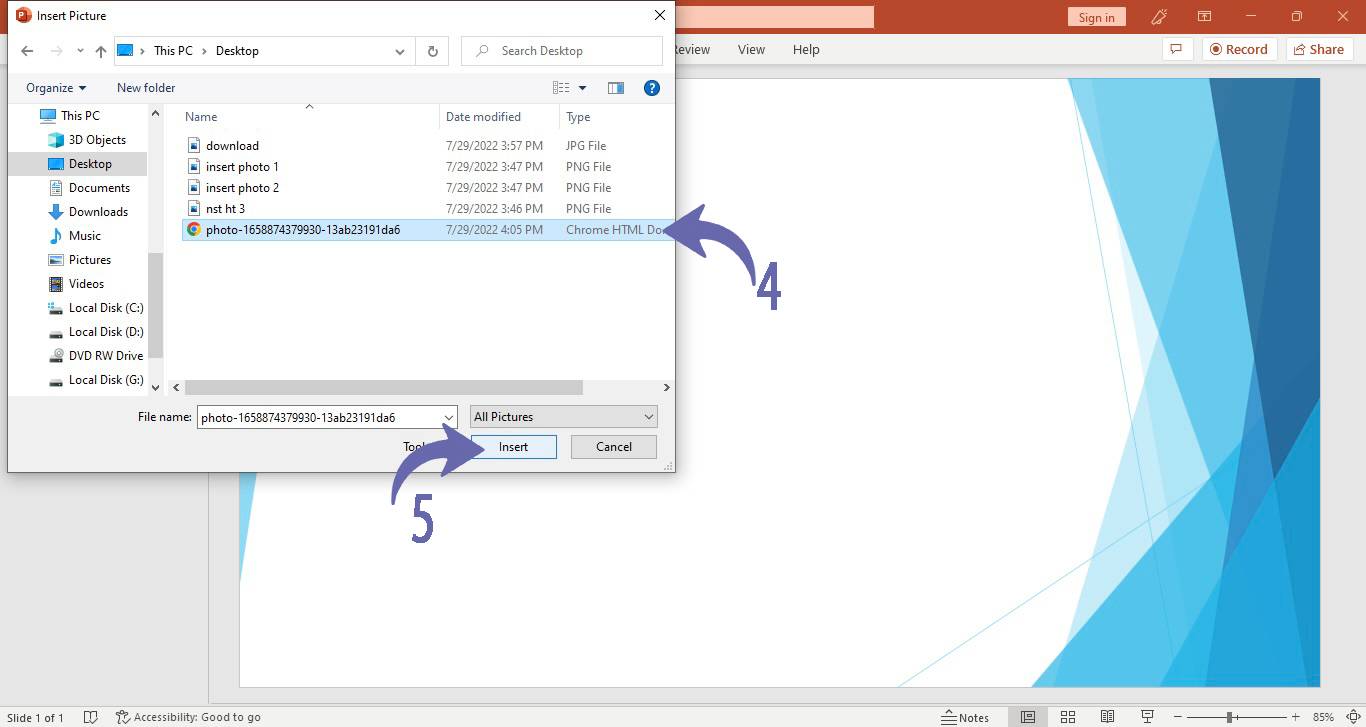
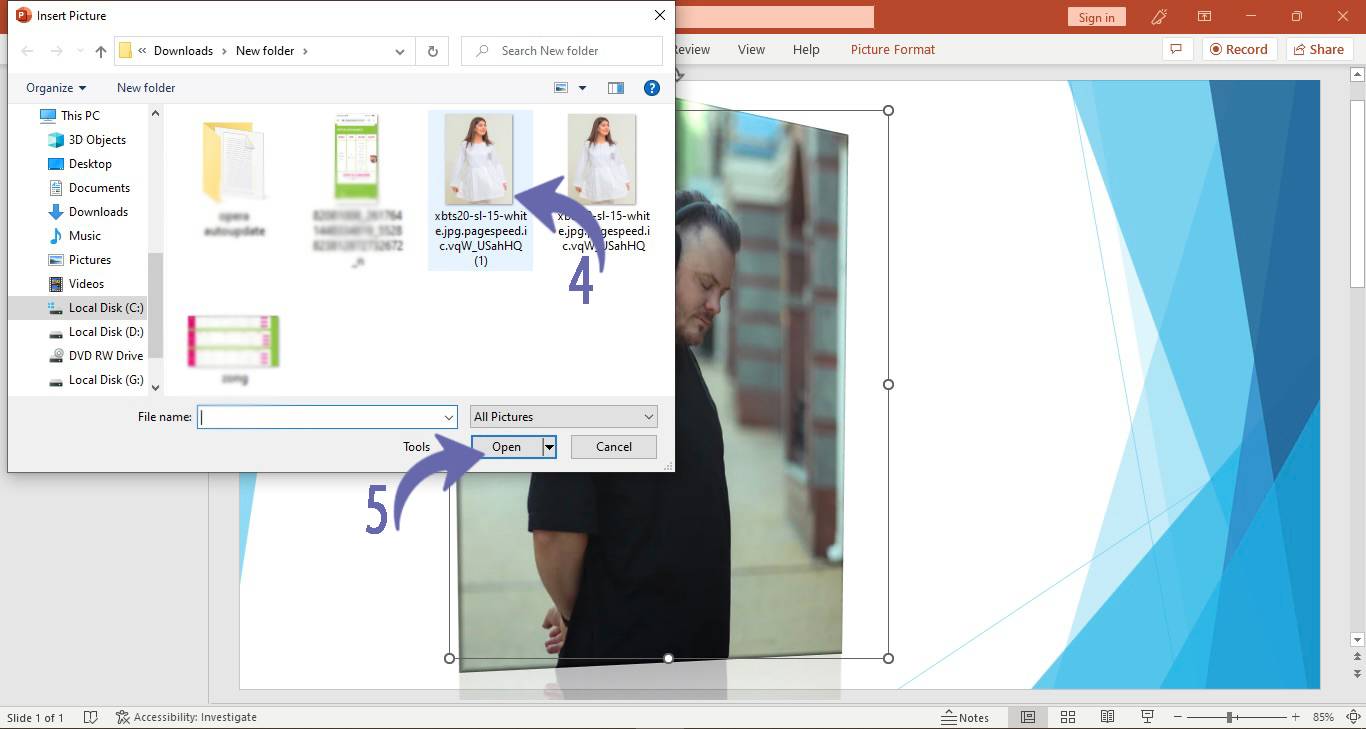
5. A browse window will appear, browse, select a picture from your device, and click open
How to customize /edit photos in PowerPoint
How to Remove background of an image in PowerPoint
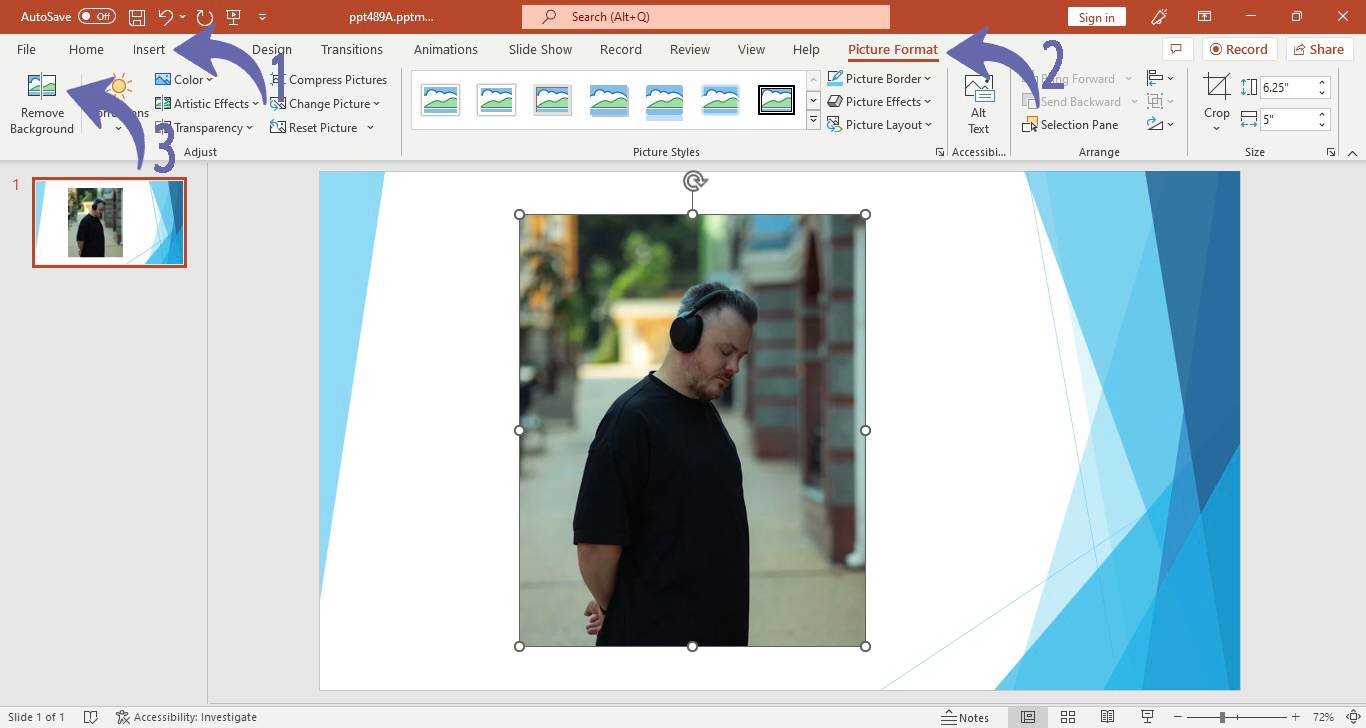
1. Select the image to change its background
2. Go to the “insert tab”, in the “Picture Format tab”, select the “Remove background” option
3. A background Removal panel will appear that shows two groups with few photo editing options i.e.,
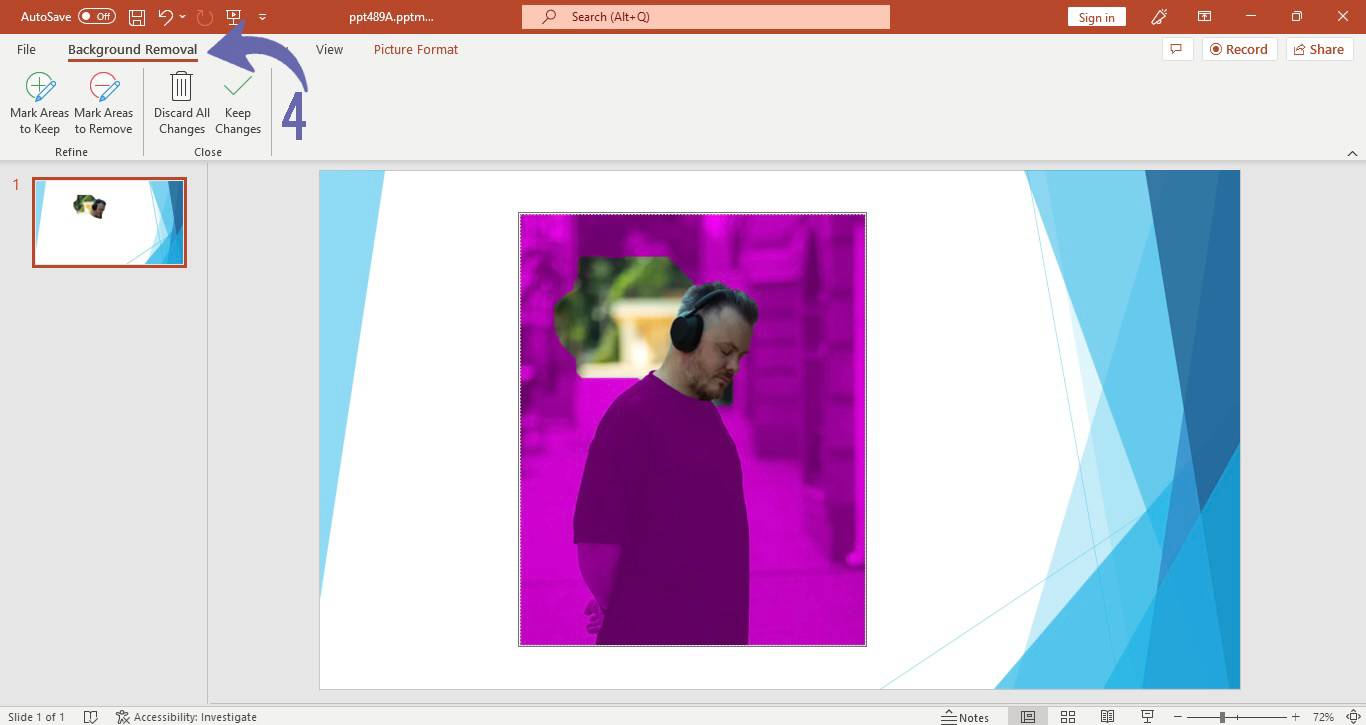
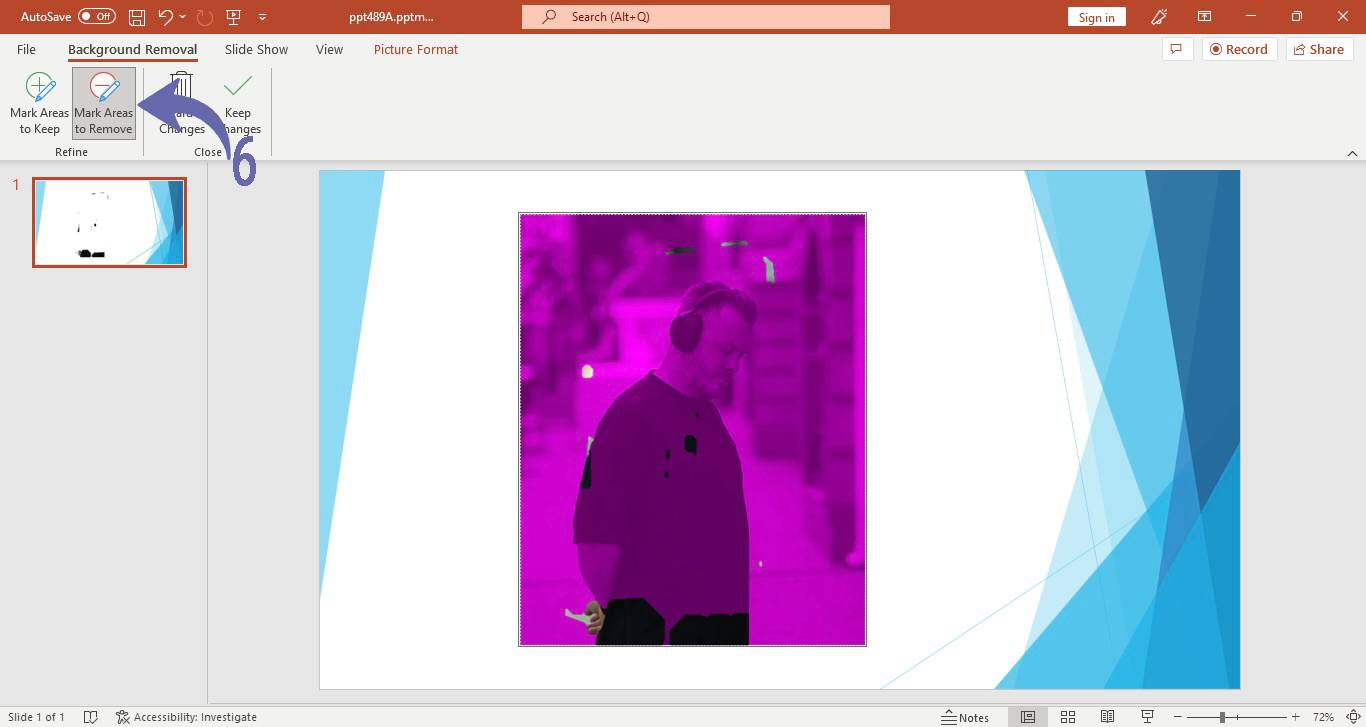
1) Refine group
Mark Areas to keep ( Select the areas that you want to keep in your image )
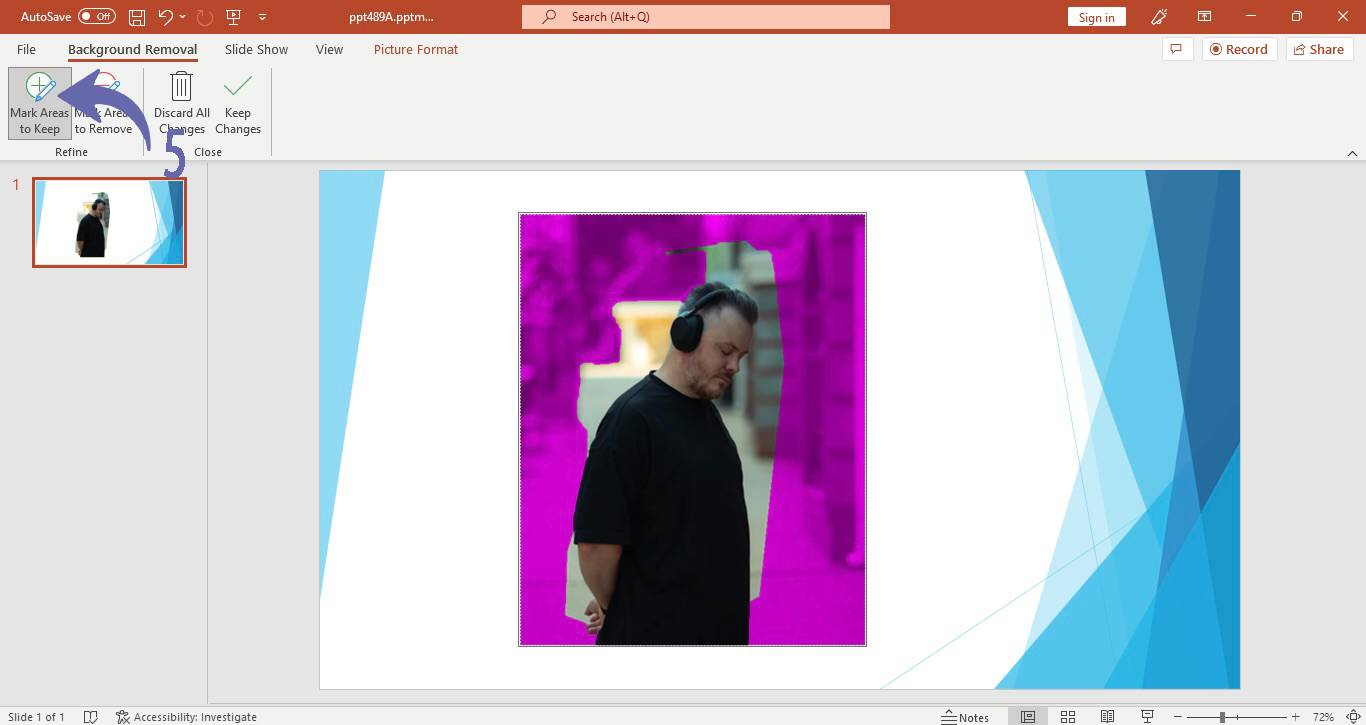
Mark Areas to remove ( Select the areas that you want to remove from your image )
2) Close group
Discard All changes (Click this option if you want to discard all the changes you applied to your image
Keep Changes (click this option if you want to keep the changes applied to your photo)
Method 2:
1. Select the picture, Click the “colour” option in the “Picture format” tab.
2. A drop-down menu will appear, click the “Set Transparent Colour” option from the menu
3. place your cursor on colour and left-click with your mouse, the colour that you have selected will be removed from the picture

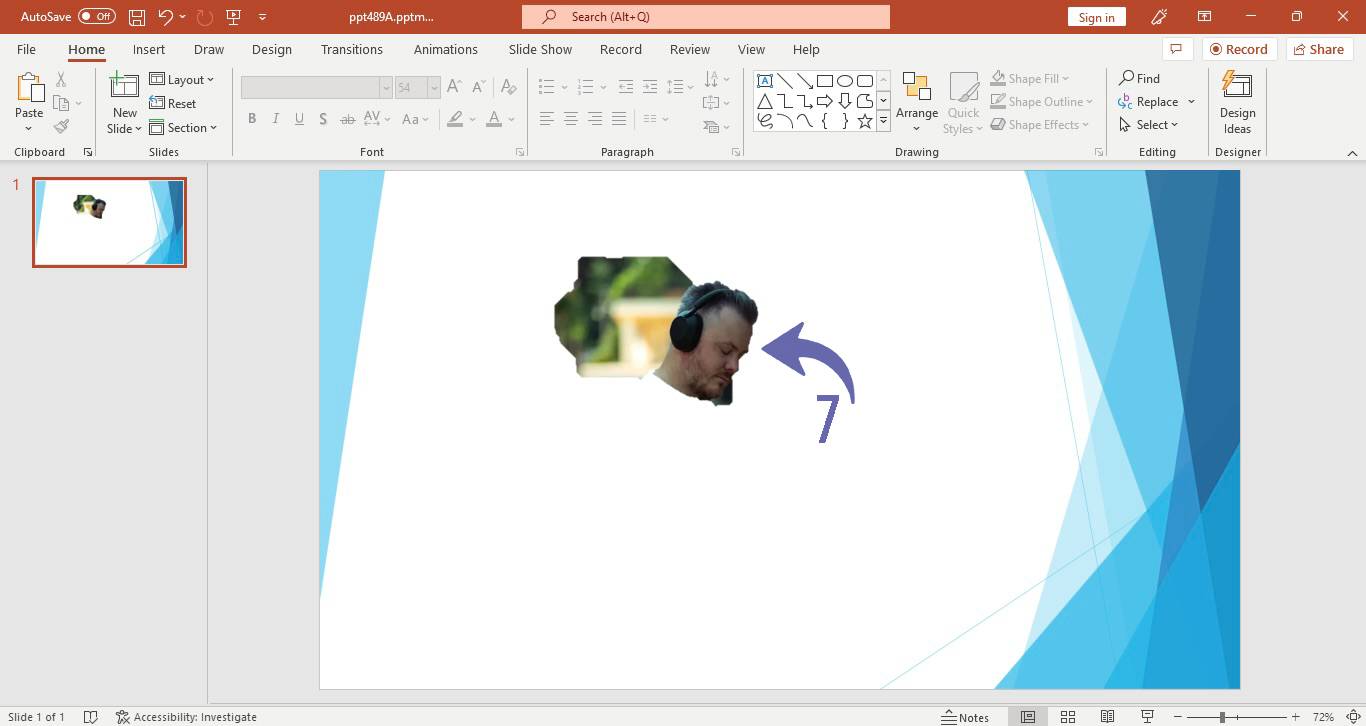
How to adjust the colours of a picture in PowerPoint
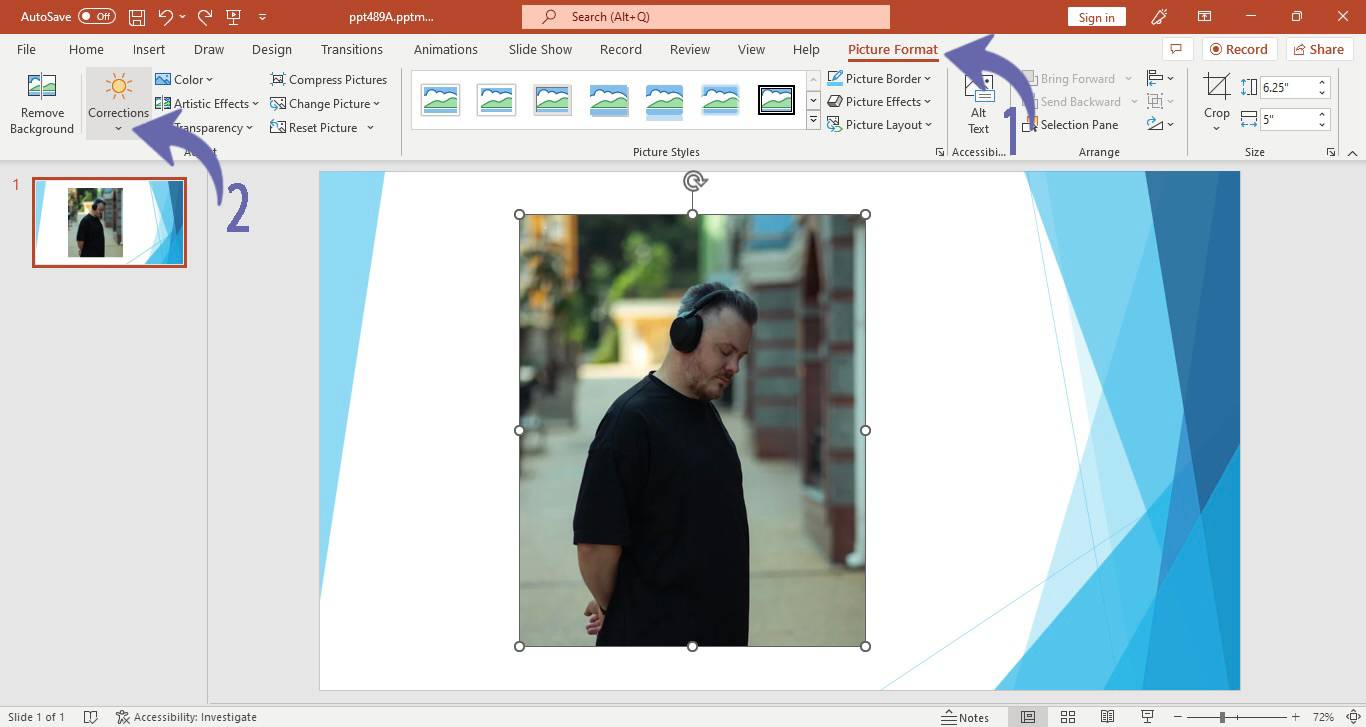
1. From the “Picture Format” tab, Click the “Correction” option
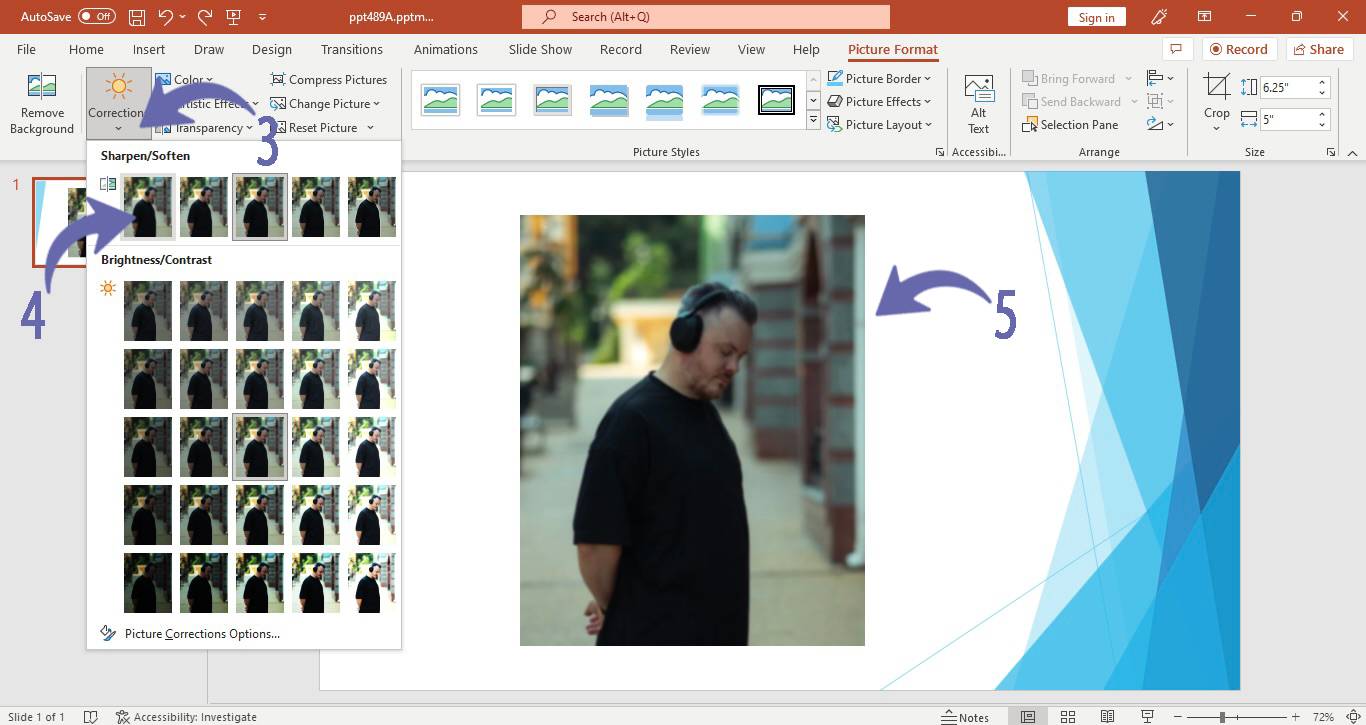
2. A drop-down menu will appear with the following photo editing options i.e.,
Sharpen/Soften (adjust the level of softness /sharpness of an image/s)
Brightness/contrast (increase or decrease the brightness /contrast level of an image/s)
How to apply colour filters on Picture in PowerPoint
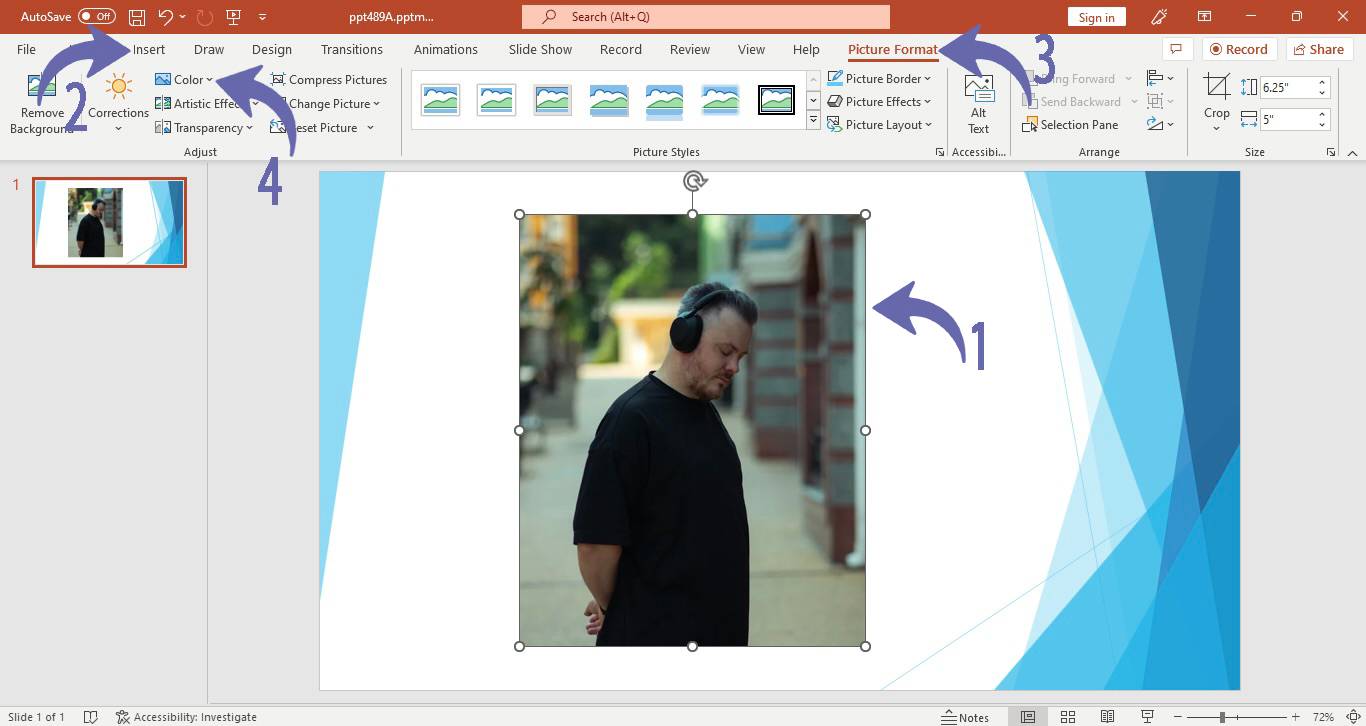
1. From the “Picture format” tab, Click the “Colour” option
2. A drop-down menu will appear with a few colours filter options i.e.,
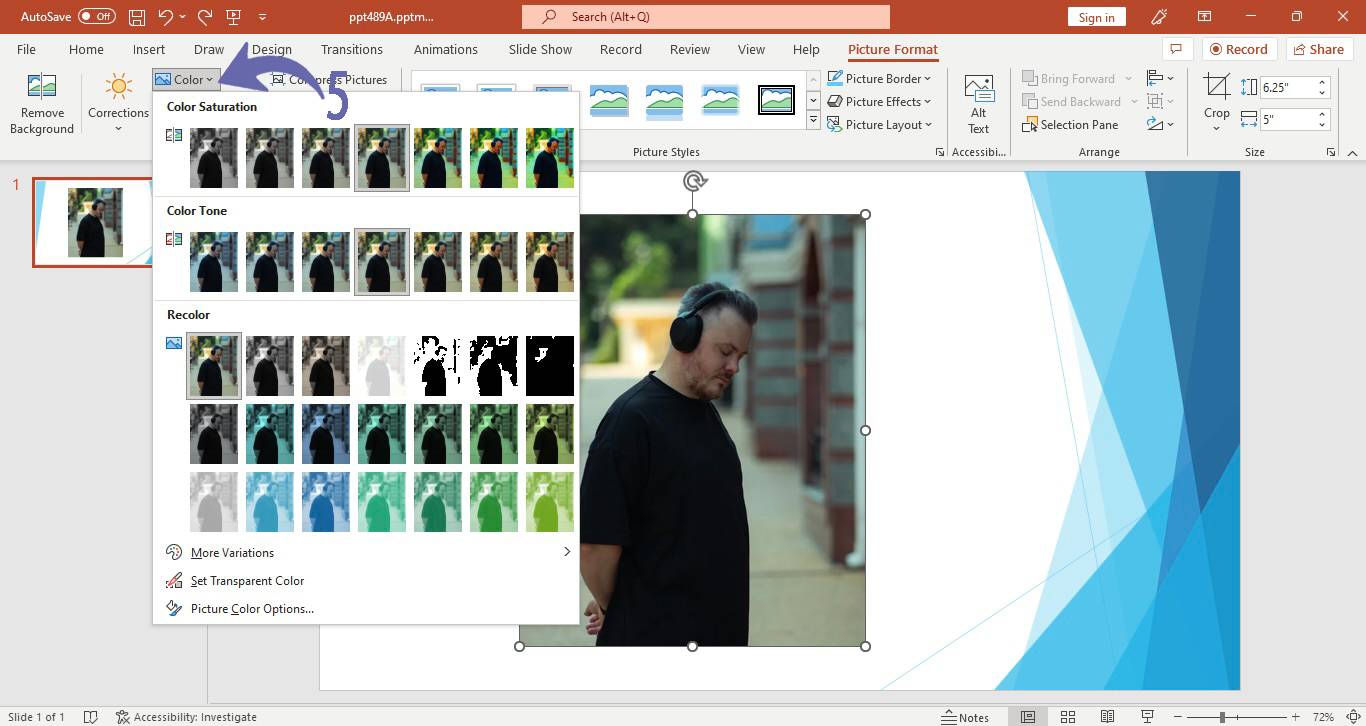
Colour Saturation (intensity of colour)
Colour Tone (difference in intensity of a colour, colour effect of shade /light in an image)
Recolour (apply a colour filter to an image)
To customize colour filters, Click the “More Variations” option. A colour panel will appear with
Theme Colours (changes according to the theme applied to your slide)
Standard Colours ( colours that are available with every theme)
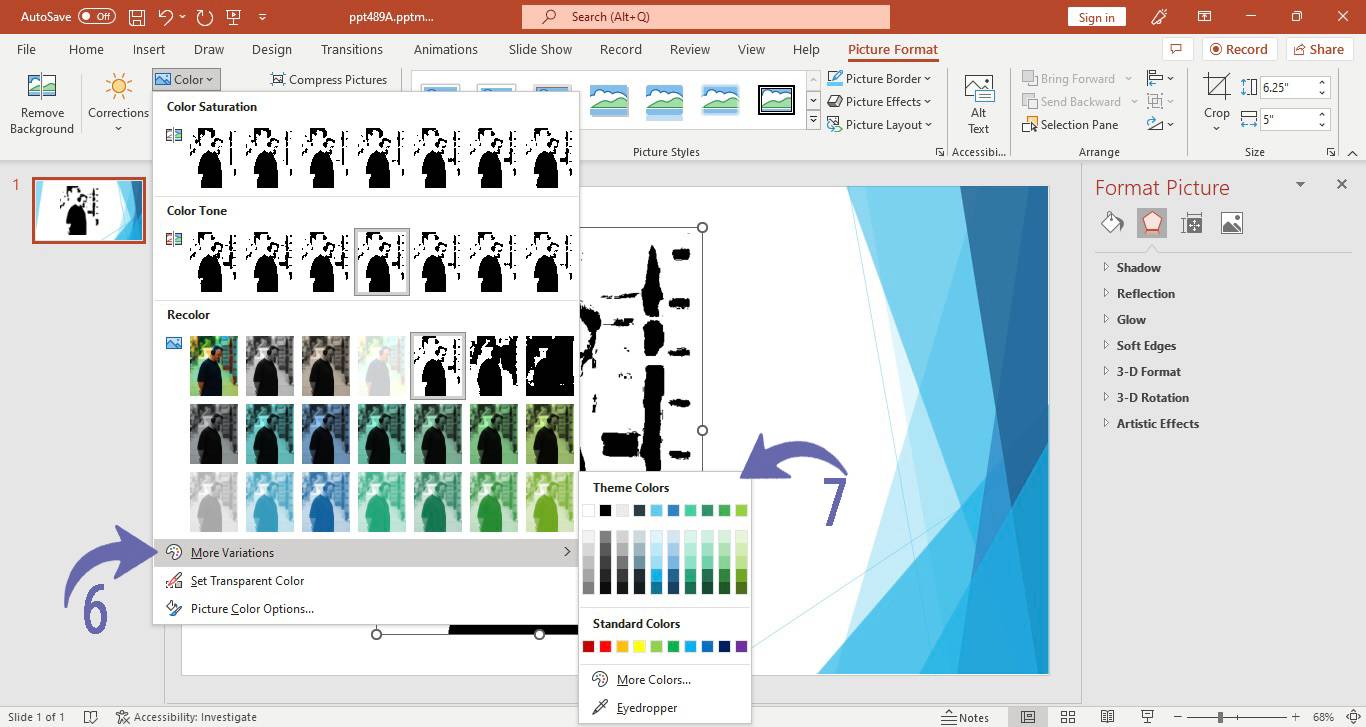
Eyedropper Use an eyedropper to pick a colour to add to an image
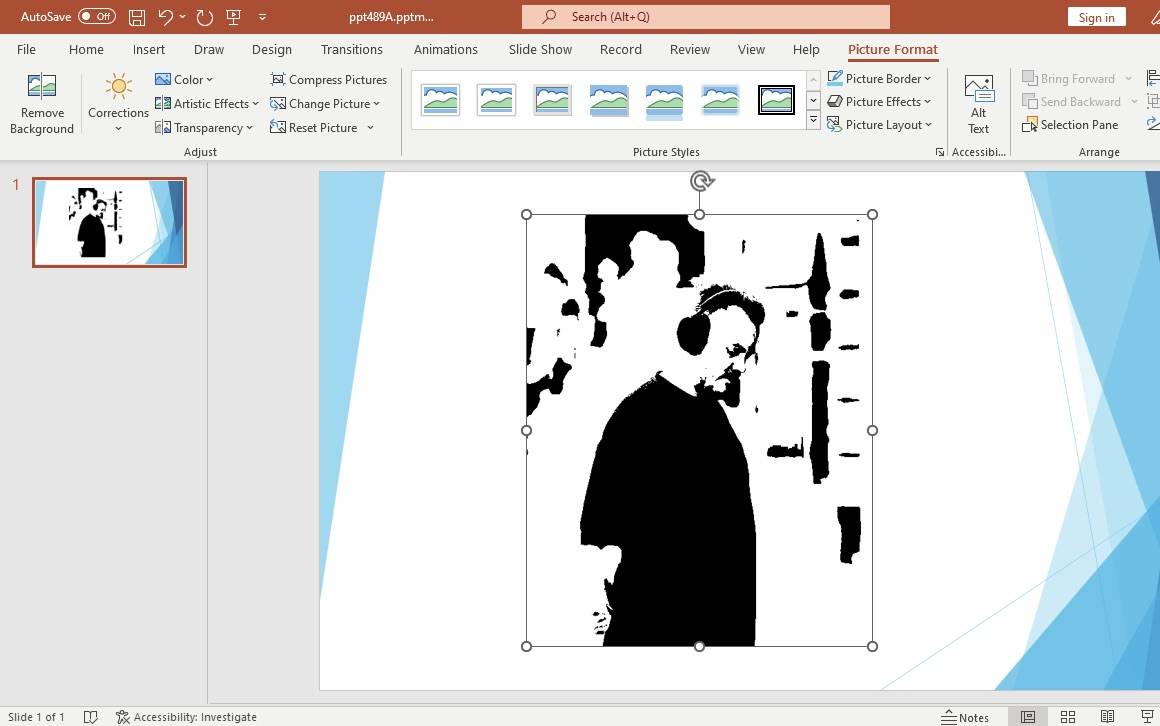
How to apply artistic effects on pictures in PowerPoint
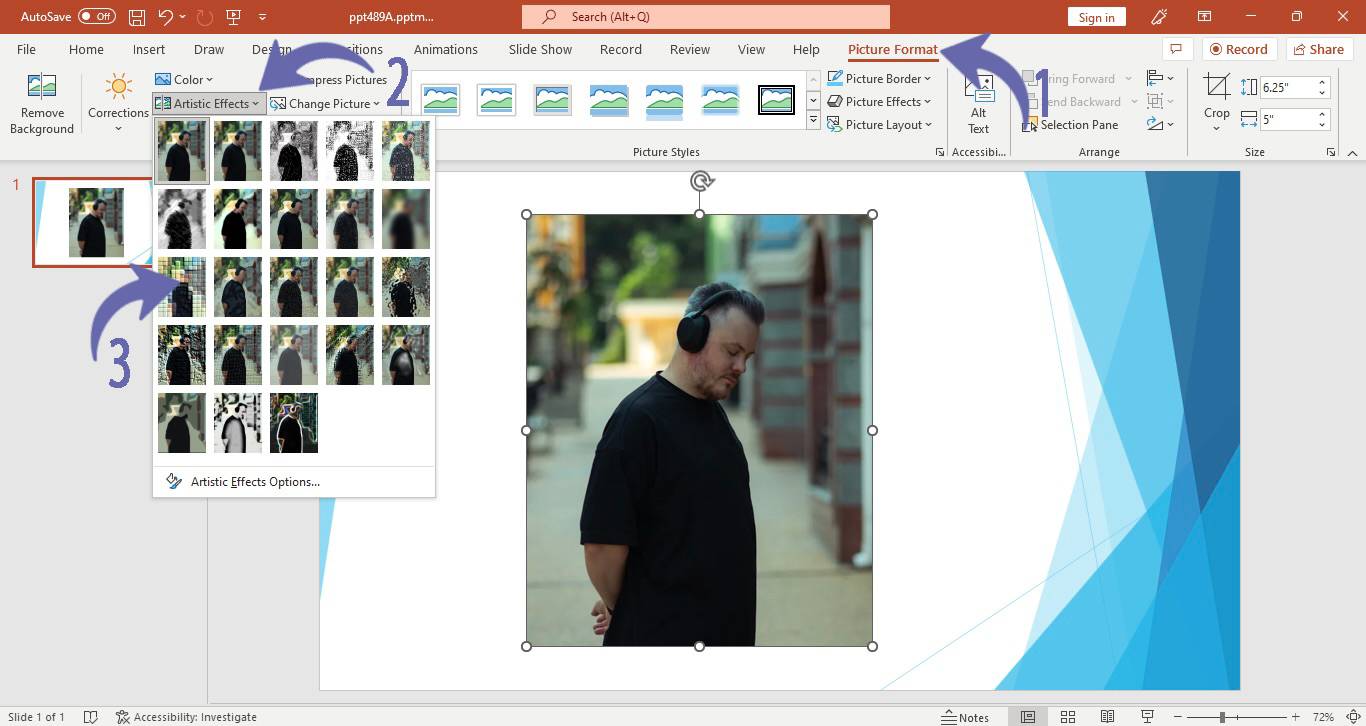
1. From the “Picture format” tab, Click the “Artistic Effects” option
2. A drop-down menu will appear with many artistic effect options e.g., Blur, mosaic, etc
3. Scroll your cursor through the effects options, to see how the effect looks on your picture without applying it
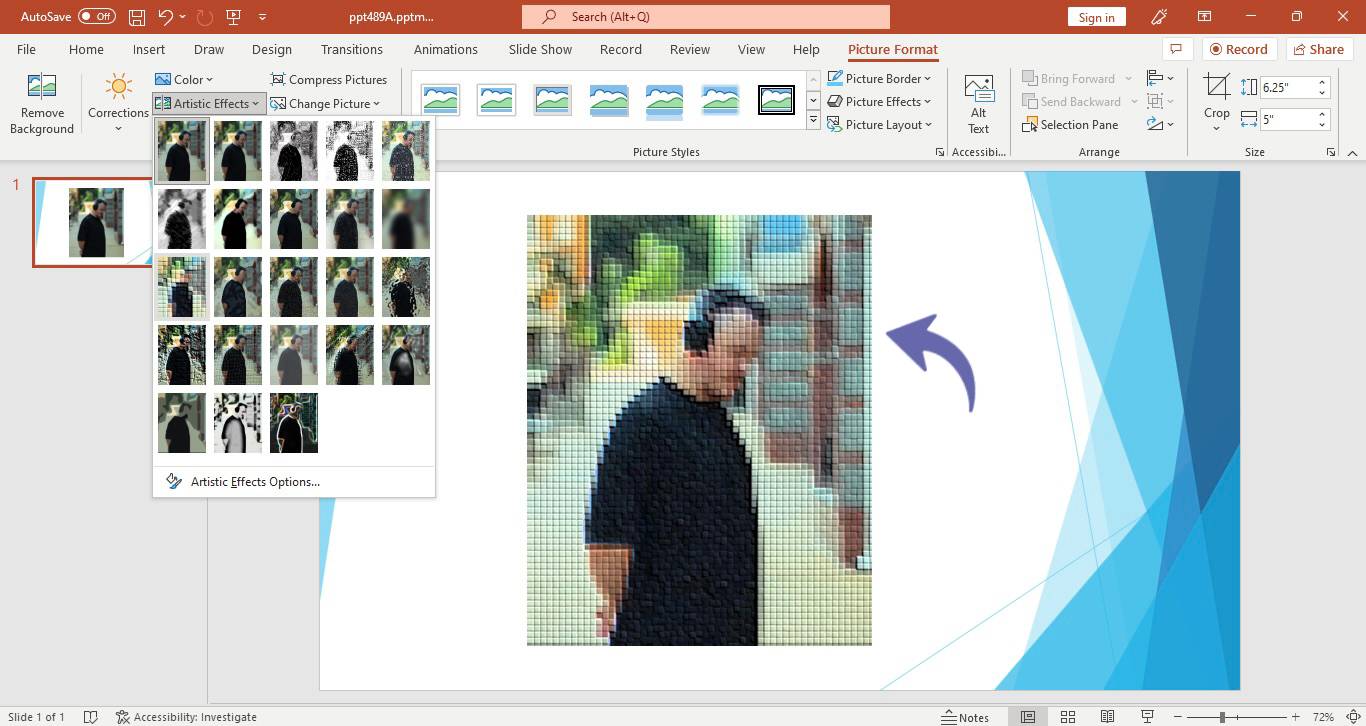
To reset the picture, click the “Reset Picture “option in the “Picture Format” tab
How to adjust the transparency of pictures in PowerPoint
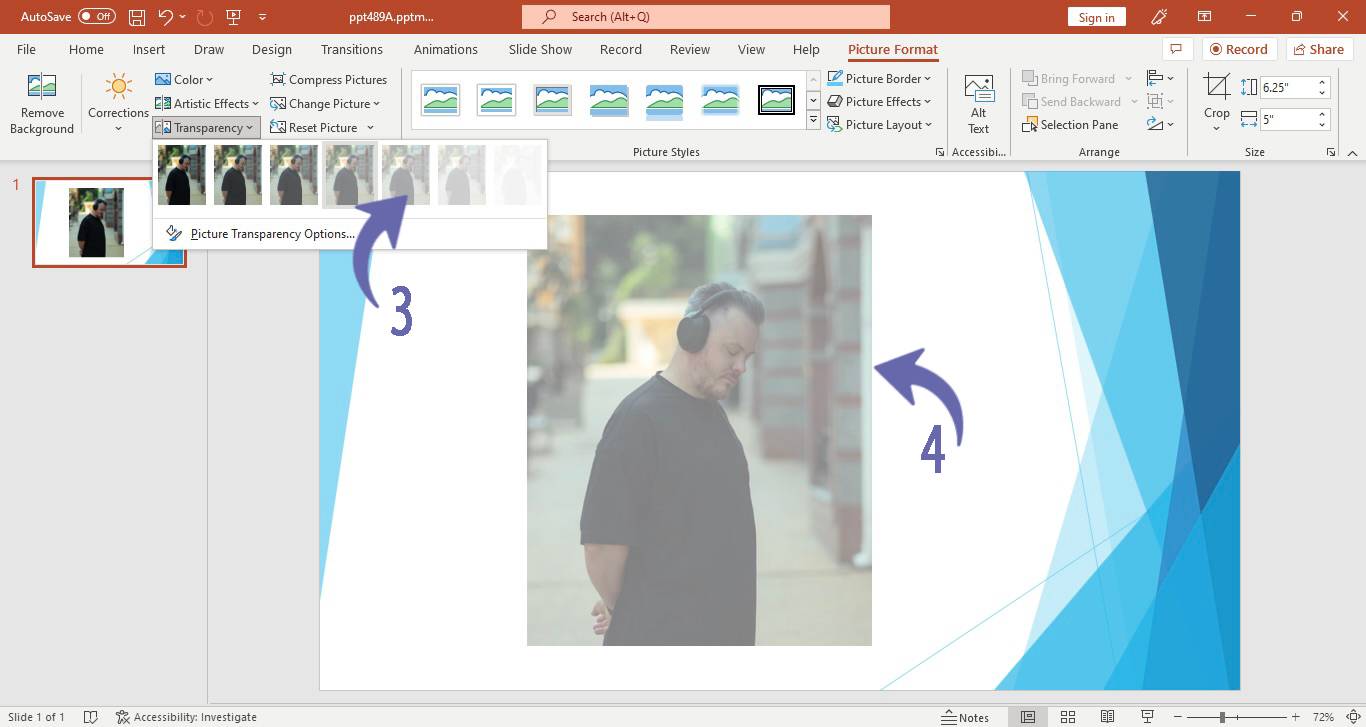
1. From the “Picture Format” tab, Click the “Transparency “option
2. A drop-down menu will appear with different transparency presets
How to Compress Pictures in PowerPoint
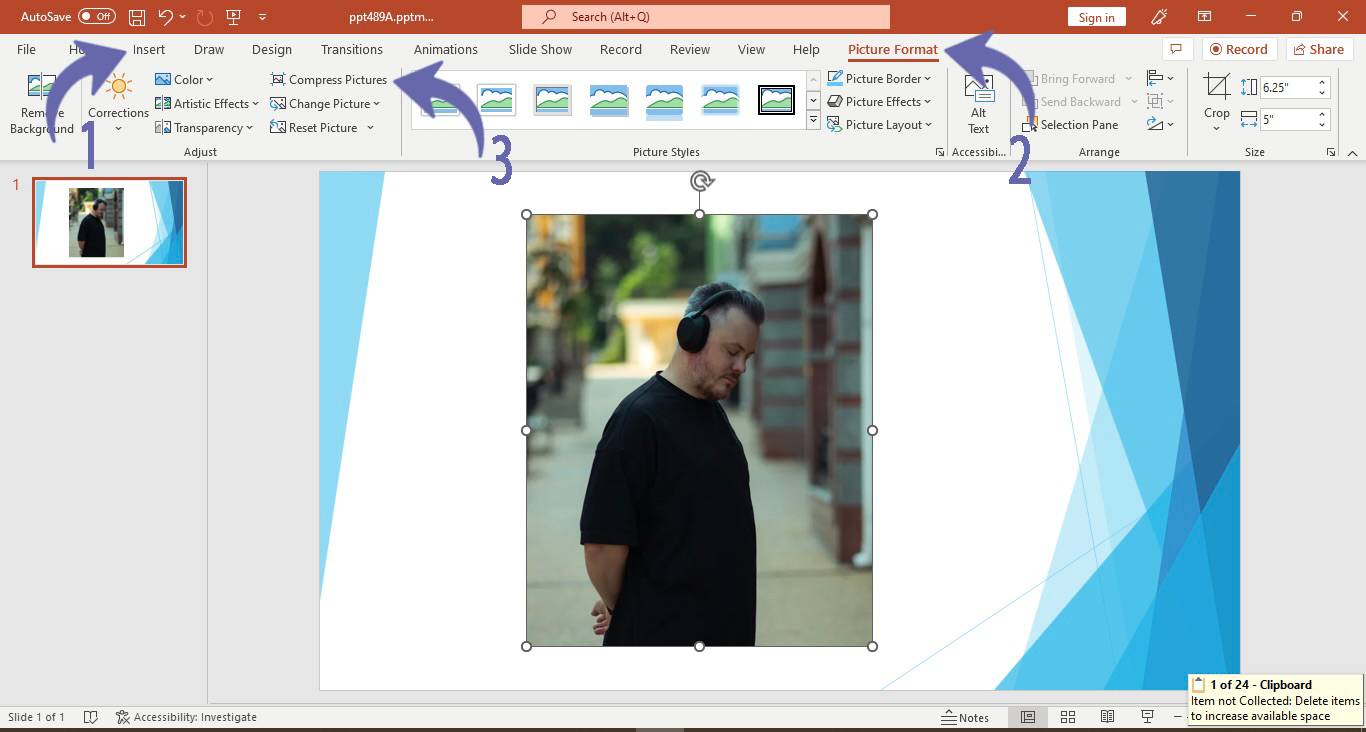
1. Go to the “Insert” tab
2. In the “Picture format” tab, Select the “Compress Picture” option
3. A Compress Picture window will appear with few options
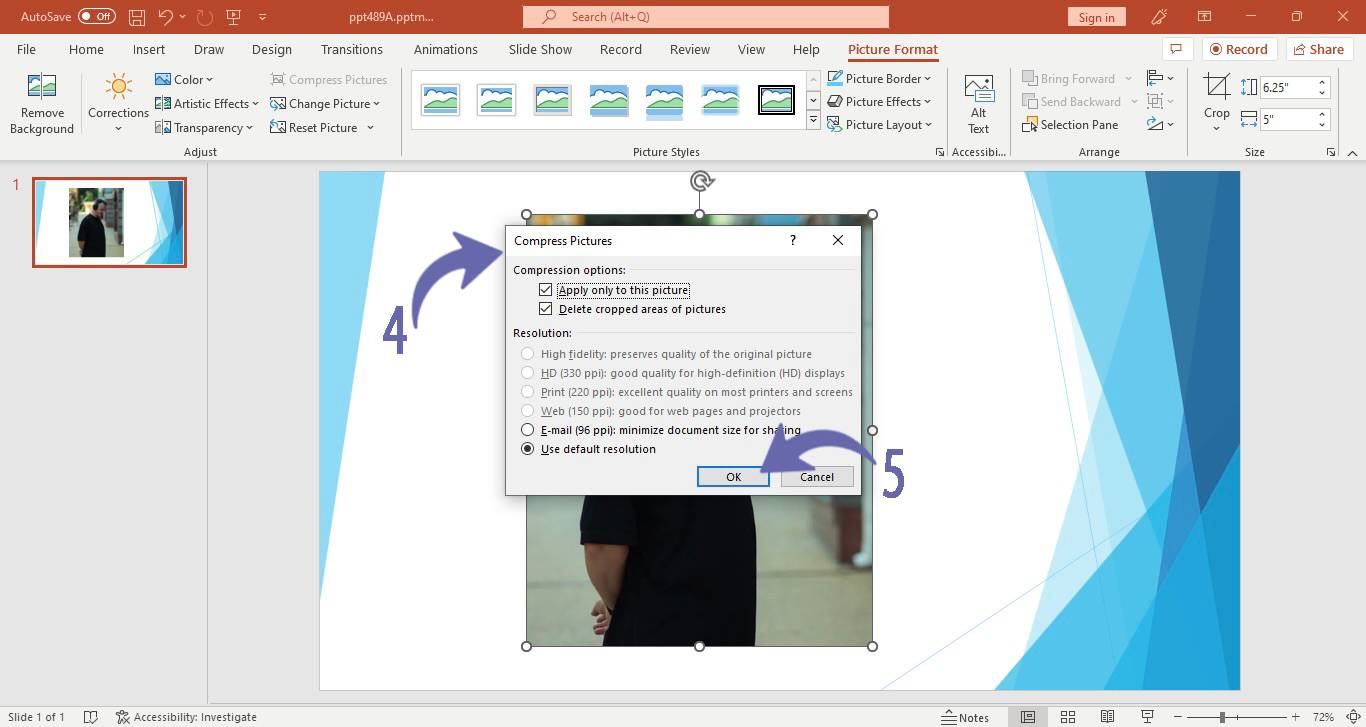
4. Tick the “Check box” of compress picture options, you want to apply to your picture e.g., (compress the picture to reduce the size of the file, choose the picture quality option)
(choose the option: “Apply to all pictures in this file”(changes will be applied to all the pictures on the slide)
or “selected pictures only (changes will be applied to only the pictures you have selected )
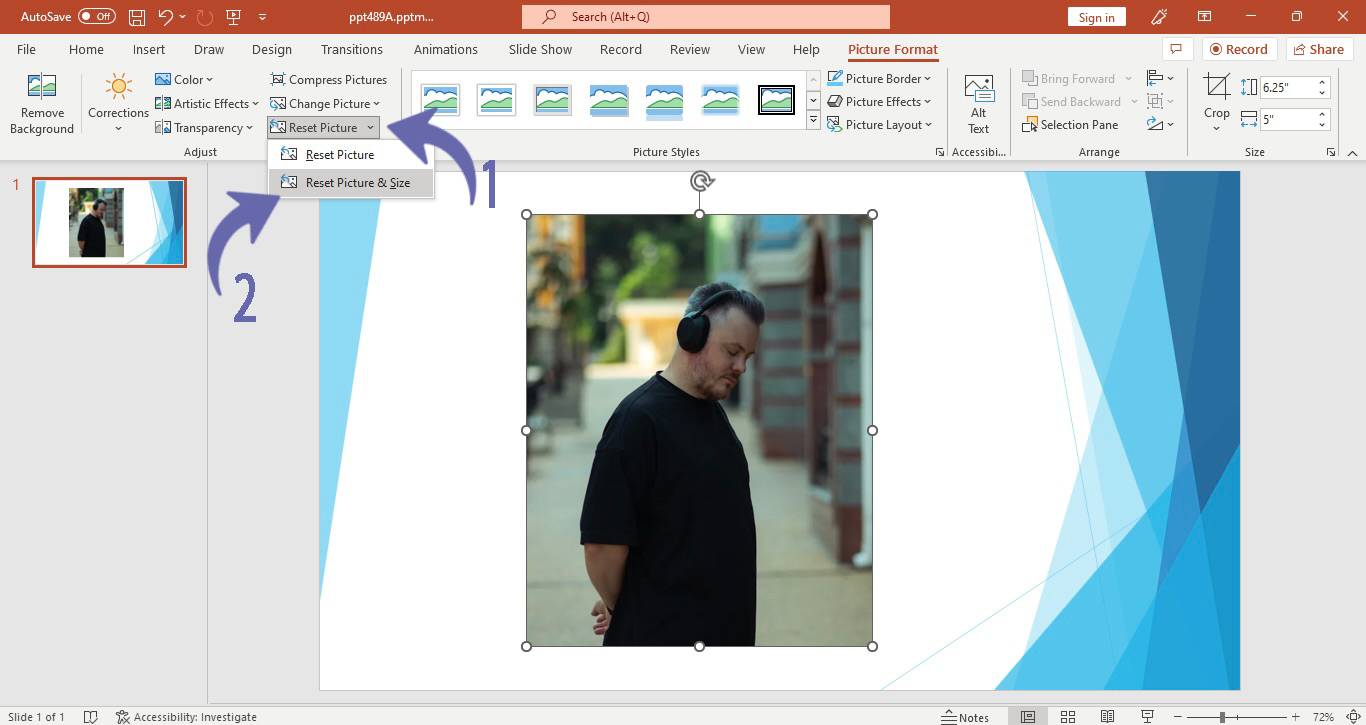
How to Reset Picture in PowerPoint
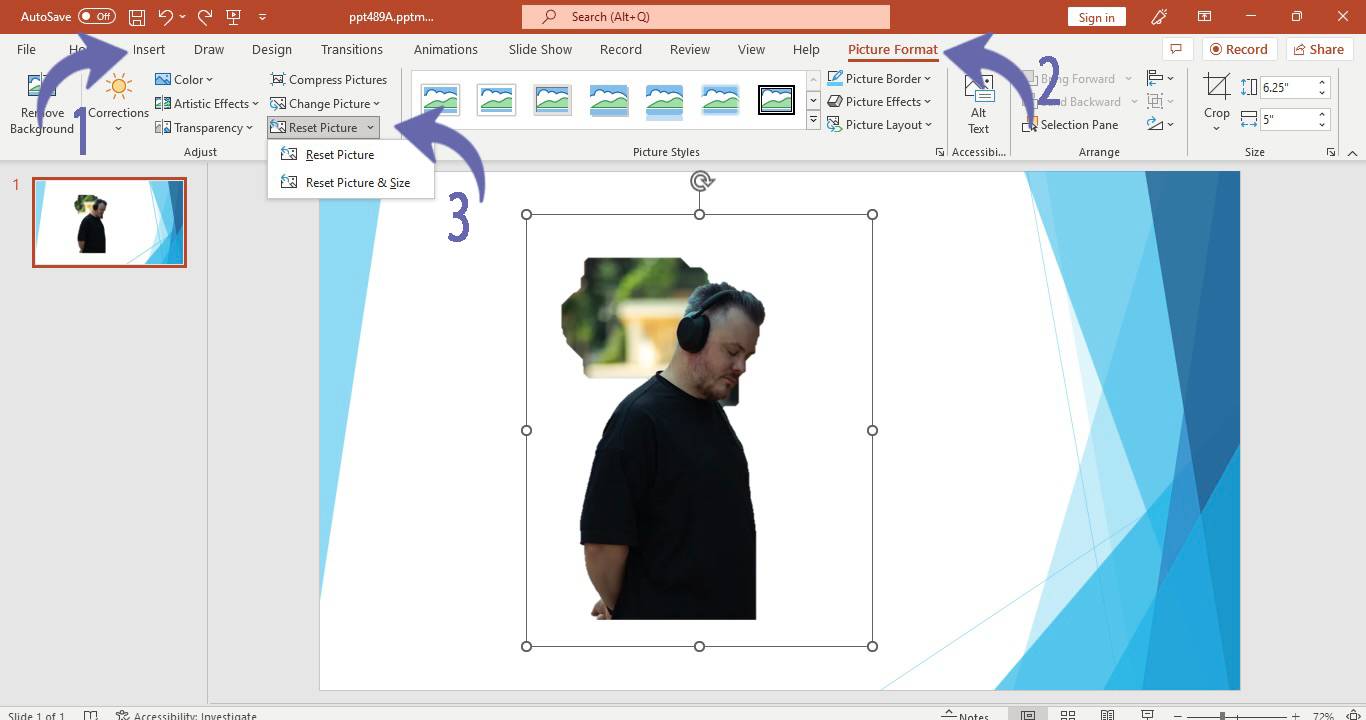
1. Go to the “Insert” tab
2. In the “Picture Format” tab, select the “Reset Picture” option
3. A dropdown will appear with the following options,
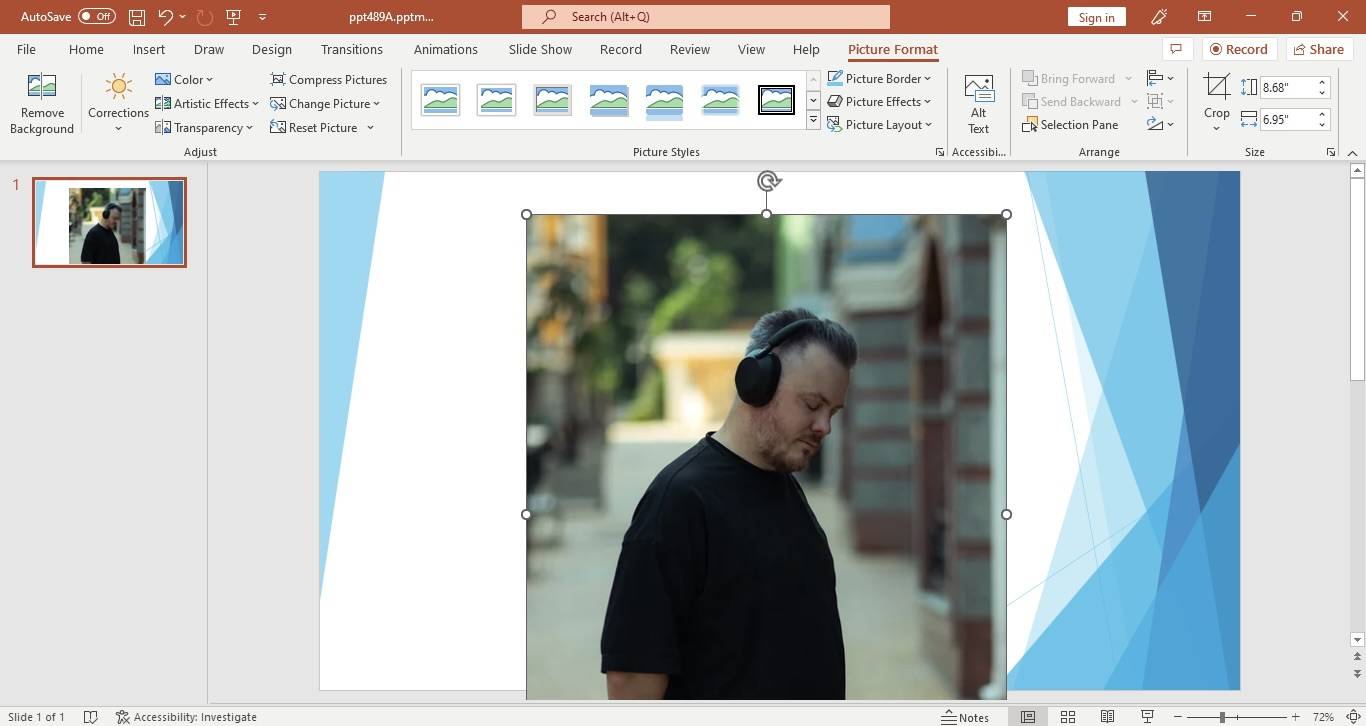
Reset picture option (reset /remove all the formatting but the size will remain the same)
Reset the picture and size option (reset all formatting and brings the picture to its original size)
4. Choose your required reset picture option (e.g., reset picture and size option as shown in the picture below)
How to apply Quick Styles on pictures in PowerPoint
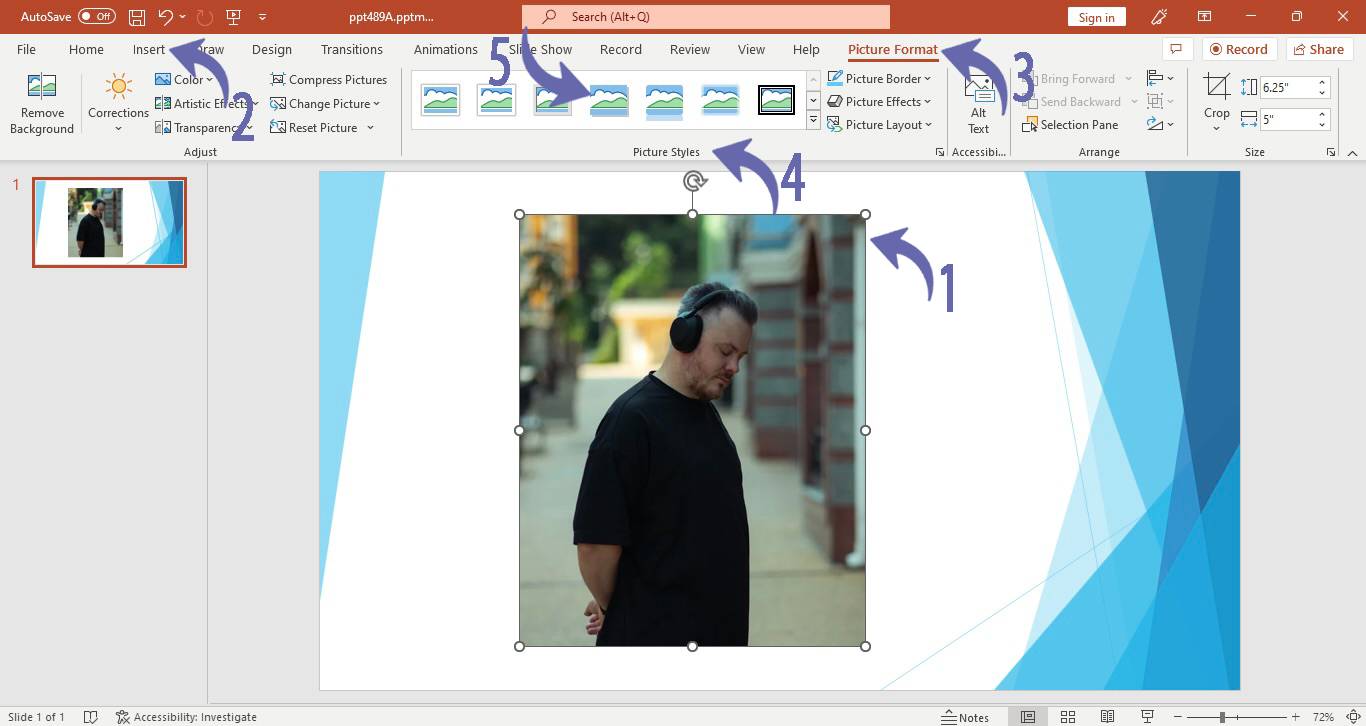
1. Select the picture to add quick style
2. From the “Picture Format” tab, Click the “Picture Styles “option
3. A drop-down menu will appear
4. Select the quick style that you want to apply to your picture

How to change Picture in PowerPoint
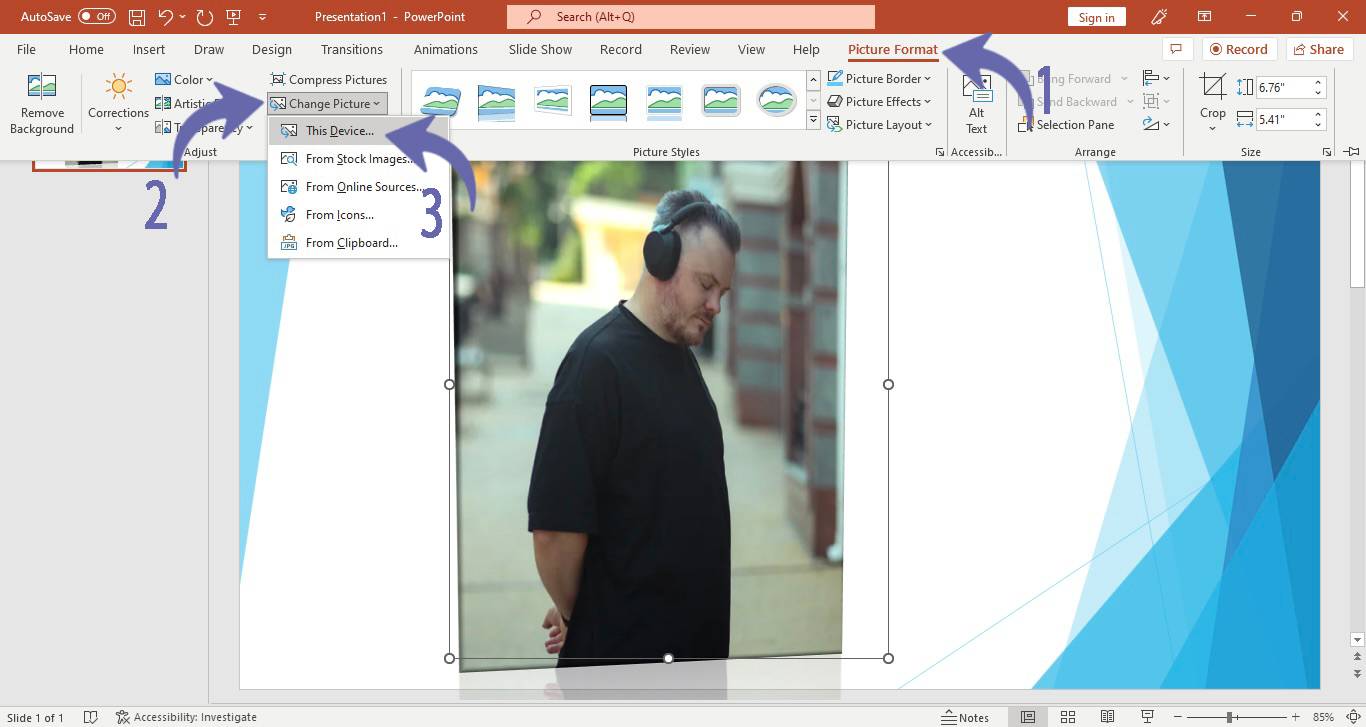
1. From the “Picture format” tab, Click the “Change Picture “option
2. A drop-down menu will appear
3. Few images insert options will appear i.e.,
From Device (insert picture from your device)
From stock Images (insert a picture from the stock images)
From Online Sources (browse and insert images from the internet)
From Icons (Choose the image from icons present in PowerPoint)
From Clipboard (choose the image from the clipboard)
4. Select your image insert option, browse, select, and insert your image
Benefits of changing picture features in PowerPoint
There are a few benefits of changing picture features in PowerPoint i.e.,
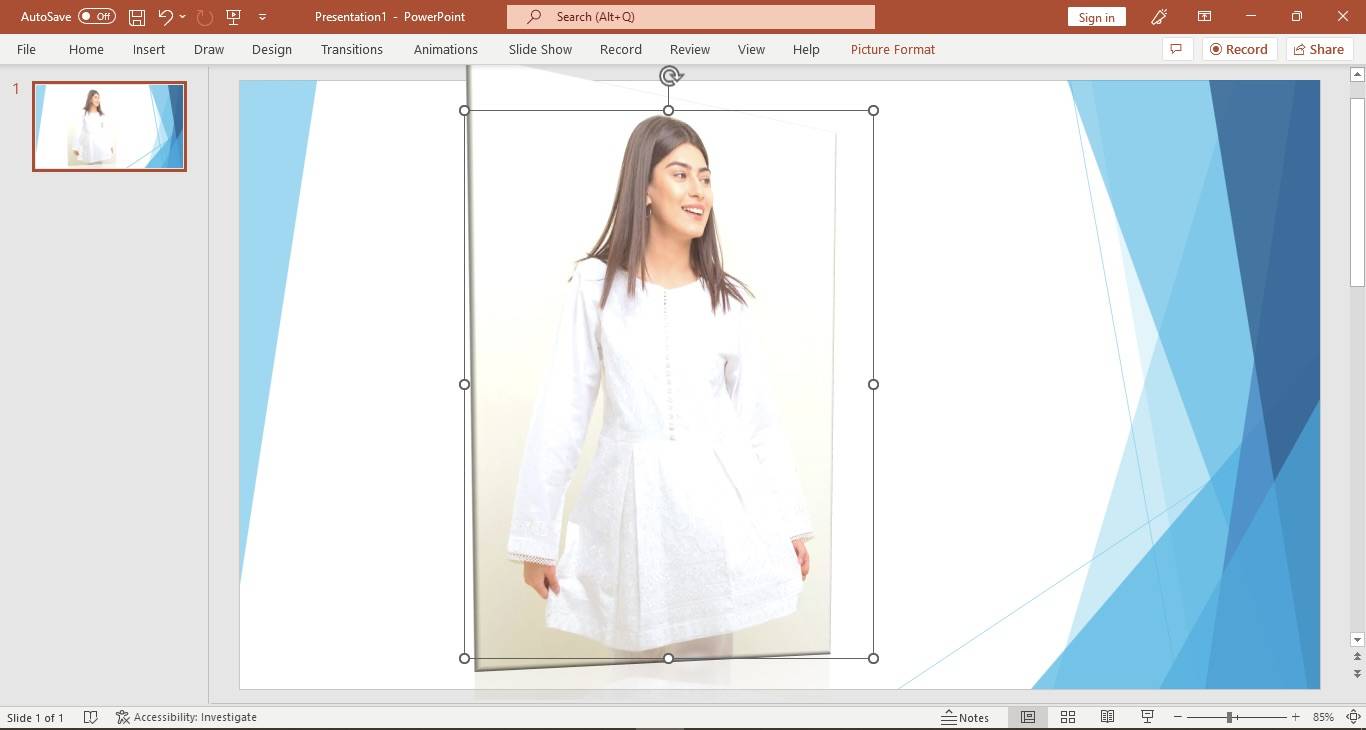
1. All the applied formatting and animations will remain the same after changing the picture
2. Position and size of pictures will remain the same
3. These photos will remain the same in the group after changing the picture