How to insert an icon in PowerPoint
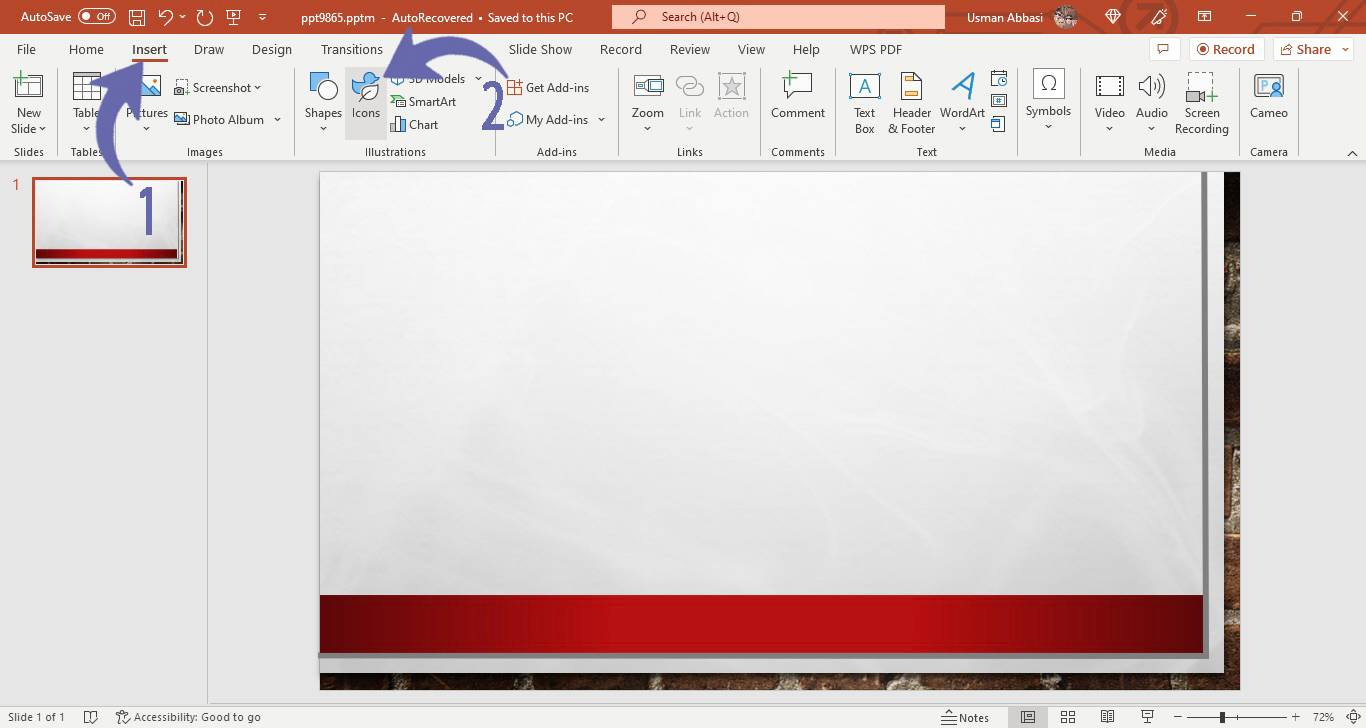
1. Select the icon , Go to the “insert” tab and click the “Icons” option
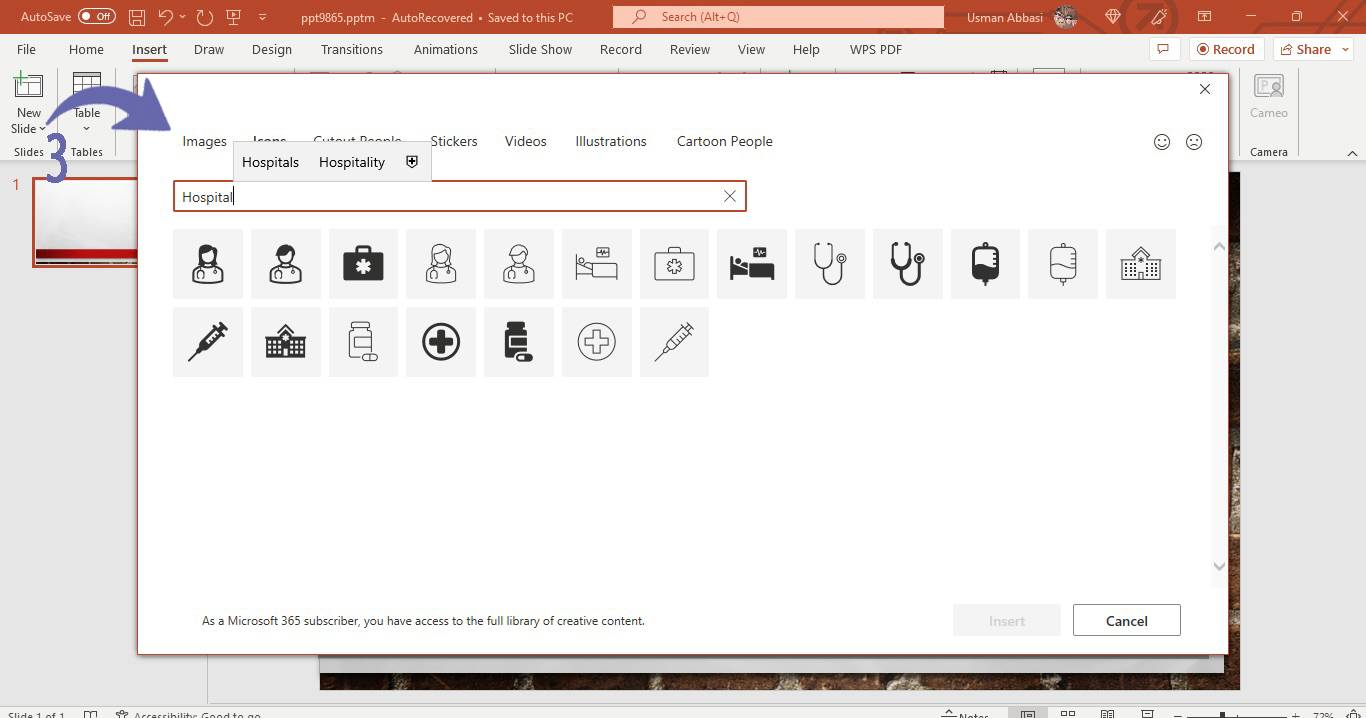
2. Icons window will appear, search your desired icon in the search box
3. There you can see two types of icons i.e., fill icon and outline icon, scroll, choose, and insert your desired icon
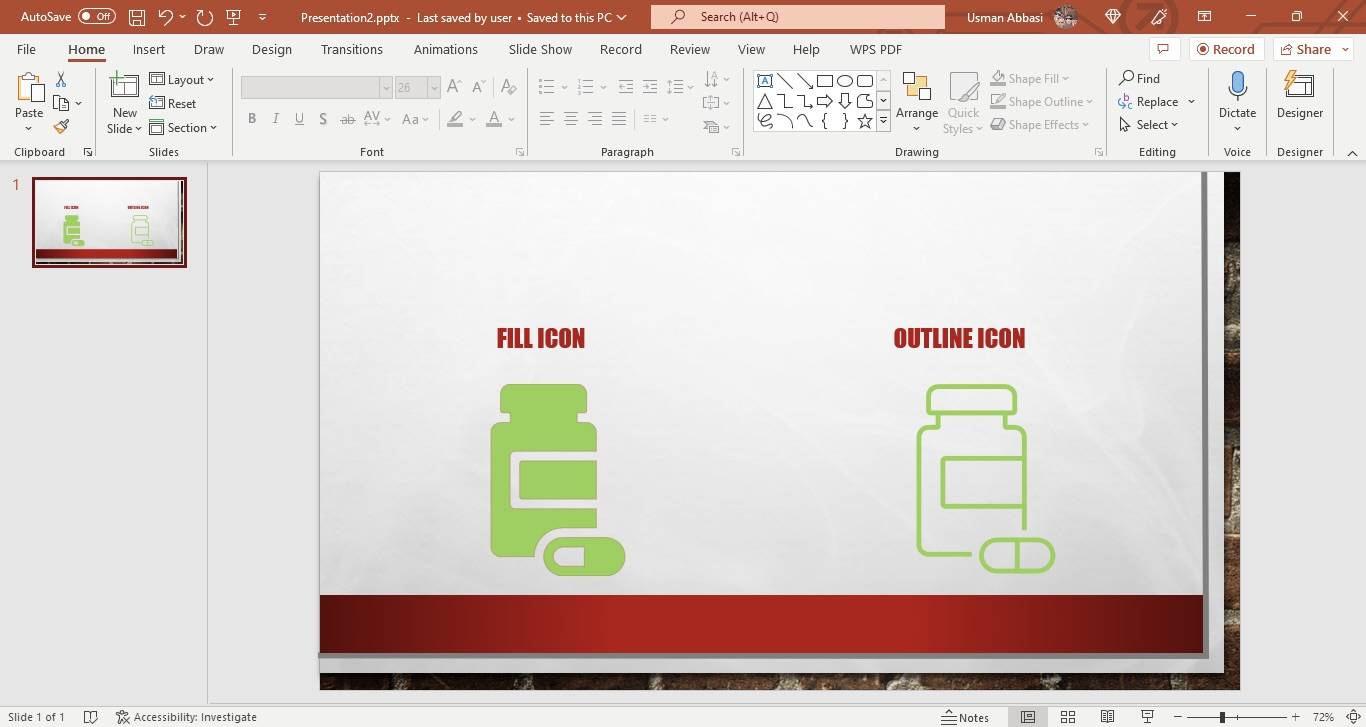
Note: Use the same type of icons in the entire presentation to make it look more professional e.g. if you have chosen outline icons then use the same style icon in the whole table
How to fill solid color in an icon in PowerPoint
1. From the “Graphic Styles” group, click the “Graphic Fill” option
2. A drop-down menu will appear with two types of color categories i.e., Theme Colors and Standard Colors
3. You can pick your desired color from any of the color category
EyeDropper
You can also pick your desired color with the help of an eyedropper
No Fill
If you want to remove the color fill from your icon, select the “No Fill” option from the drop-down menu
More Fill Colours
If you want some specific color, click this option
How to customize the outline color of the icon in PowerPoint
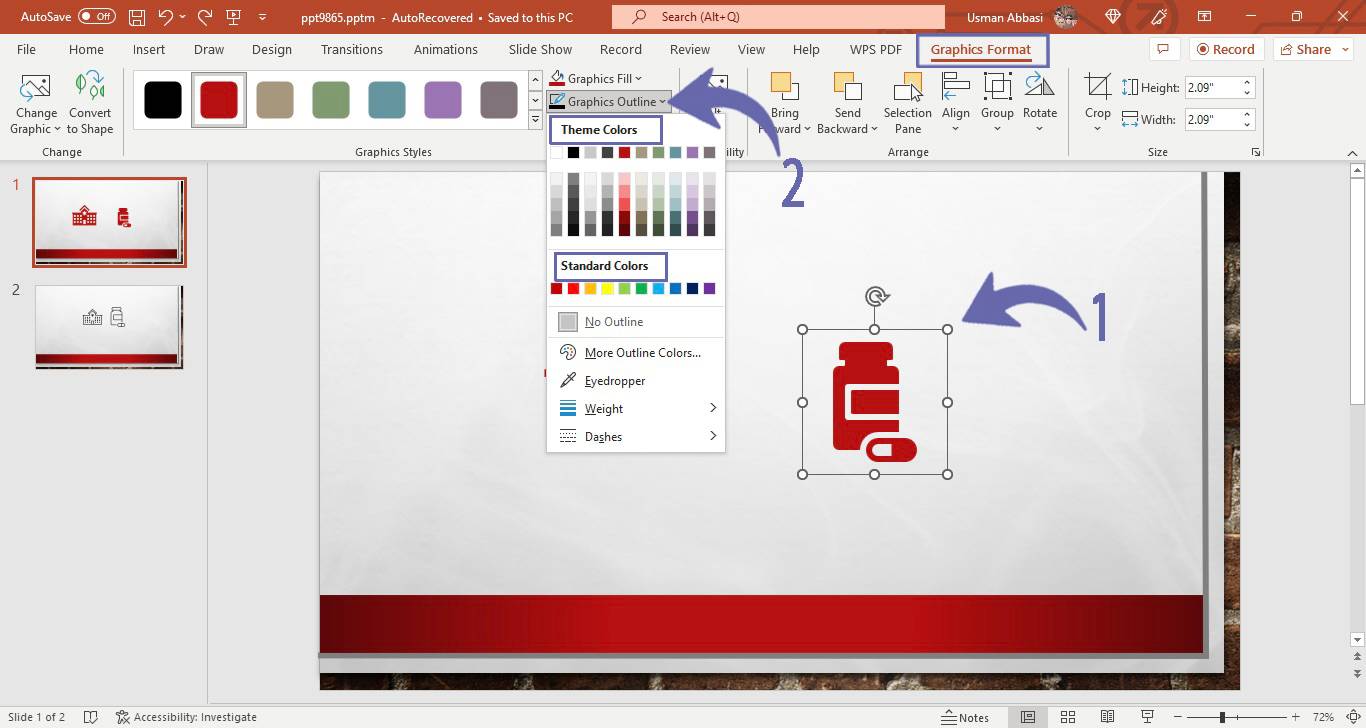
1. From the “Graphic Styles” group, click the “Graphic Outline” option
2. A drop-down menu will appear with two types of color categories i.e., Theme Colors and Standard Colors
3. You can pick your desired color from any of the color category
EyeDropper
You can also pick your desired color with the help of an eyedropper
No Outline
If you want to remove the Outline color of your icon, select the “No Outline” option from the drop-down menu
How to customize the outline weight of an icon in PowerPoint
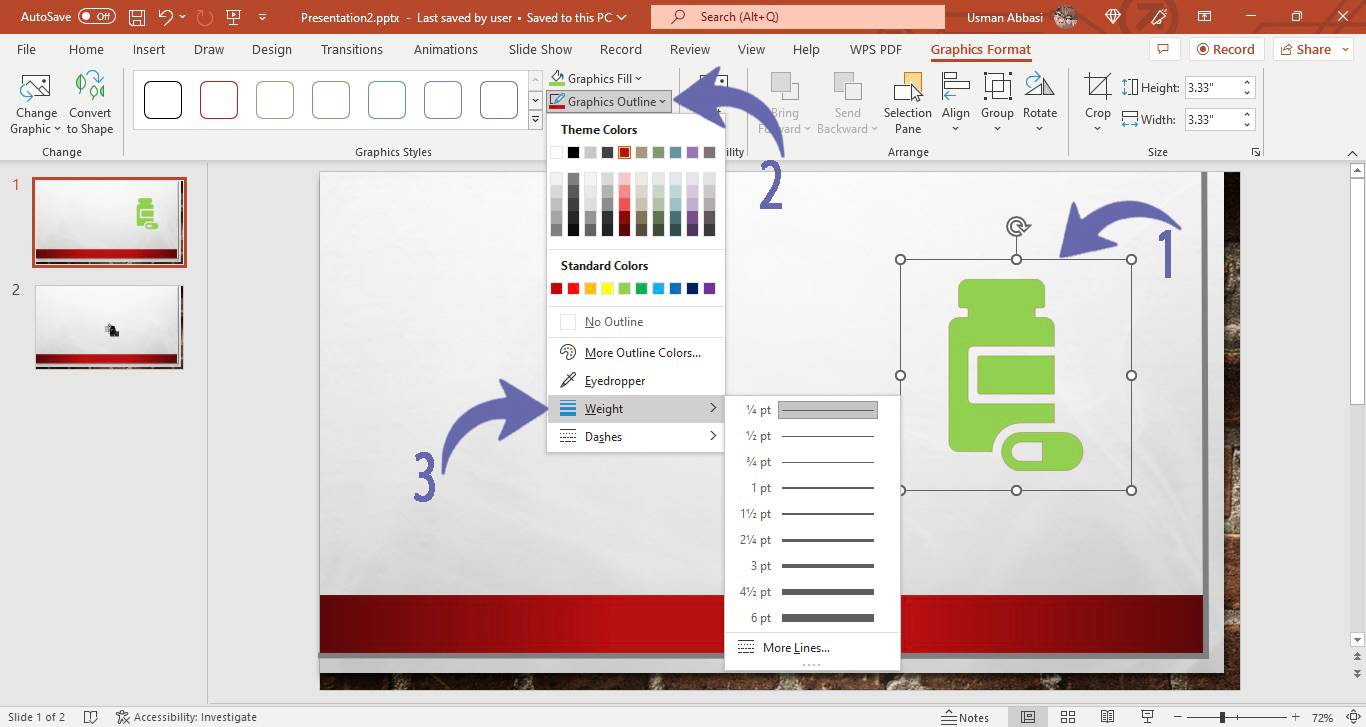
1. From the”Graphic Outline” menu, click the“Weight” option and a drop-down menu will appear with a few weight options
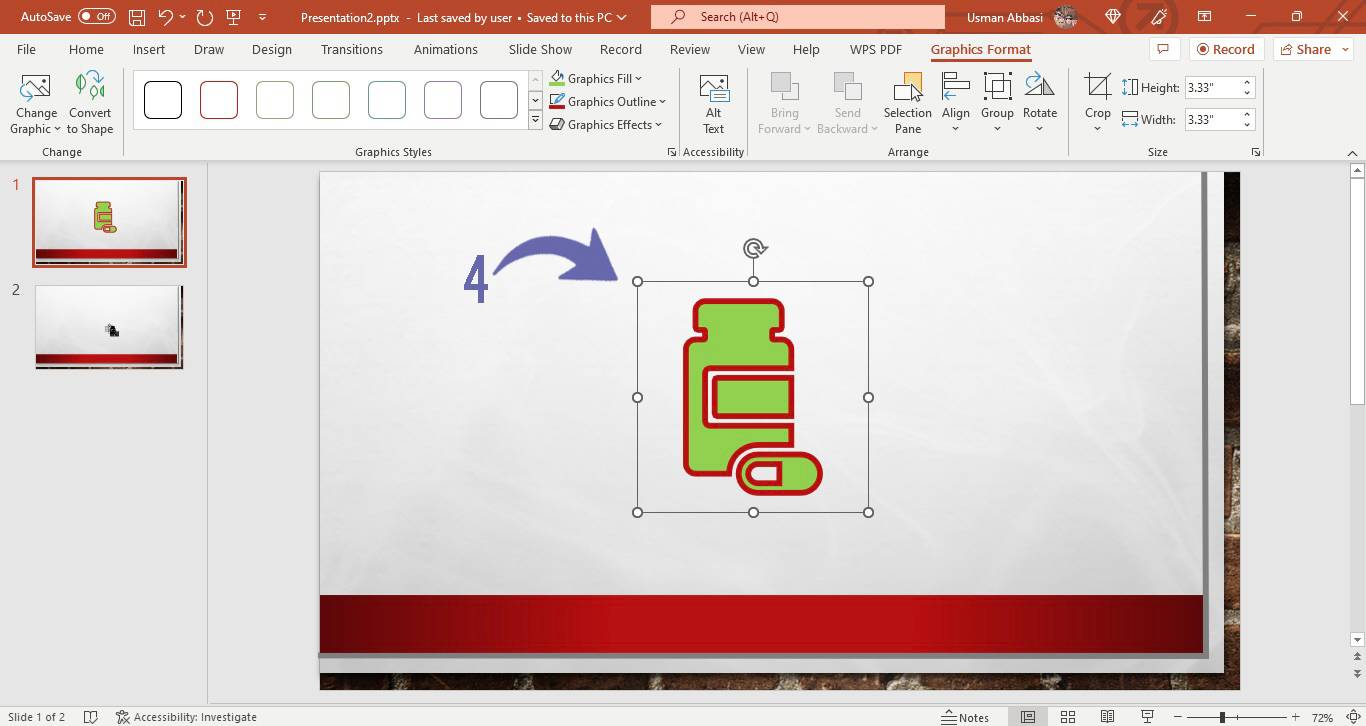
2. Select your desired outline weight option for your icon
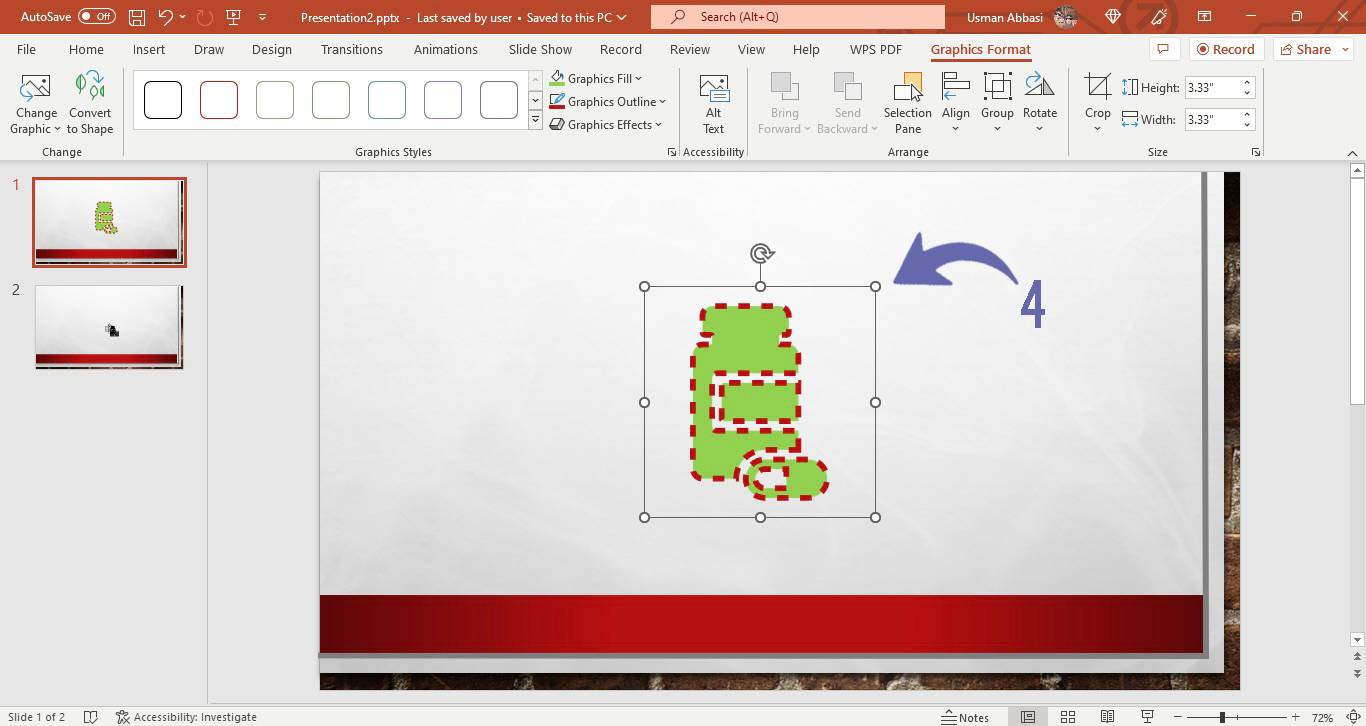
How to change the outline style of an icon in PowerPoint
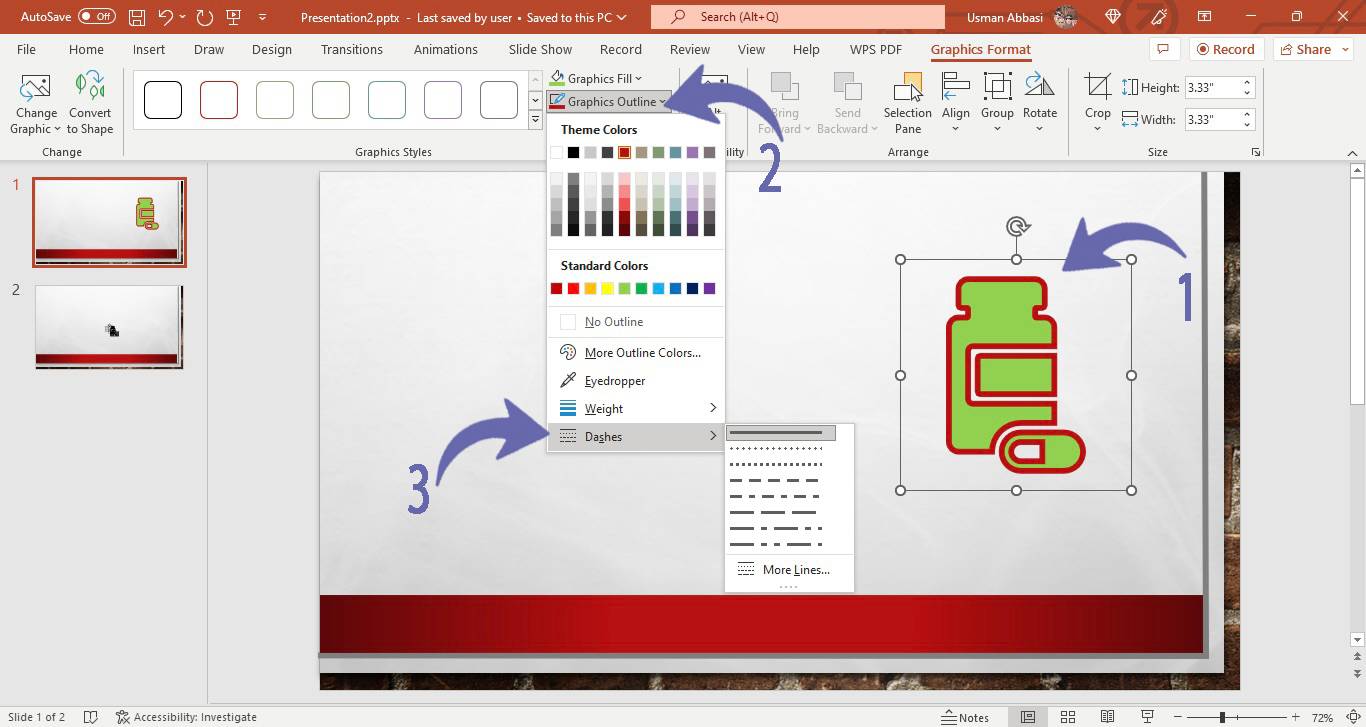
1. From the “Graphic Outline” menu, click the“Dashes” and a drop-down menu will appear with a few outline-style options
2. Pick your desired outline style for your icon
How to add effects to an icon in PowerPoint
1. From the “Graphic Styles” group, click the”Graphic Effects” option
2. A drop-down menu will appear with several icon effect options i.e., presets, shadow, reflection, glow, and a few more
3. Scroll and choose your desired effect to make your icon looks more appealing
To learn, how to apply special effects on an icon/shape, please review this articles
How to stylize an icon in PowerPoint
1. From the “Graphic Styles” group, click the arrow next to Graphic Style option
2. A drop-down menu will appear with many built-in graphic styles
3. Choose your desired preset
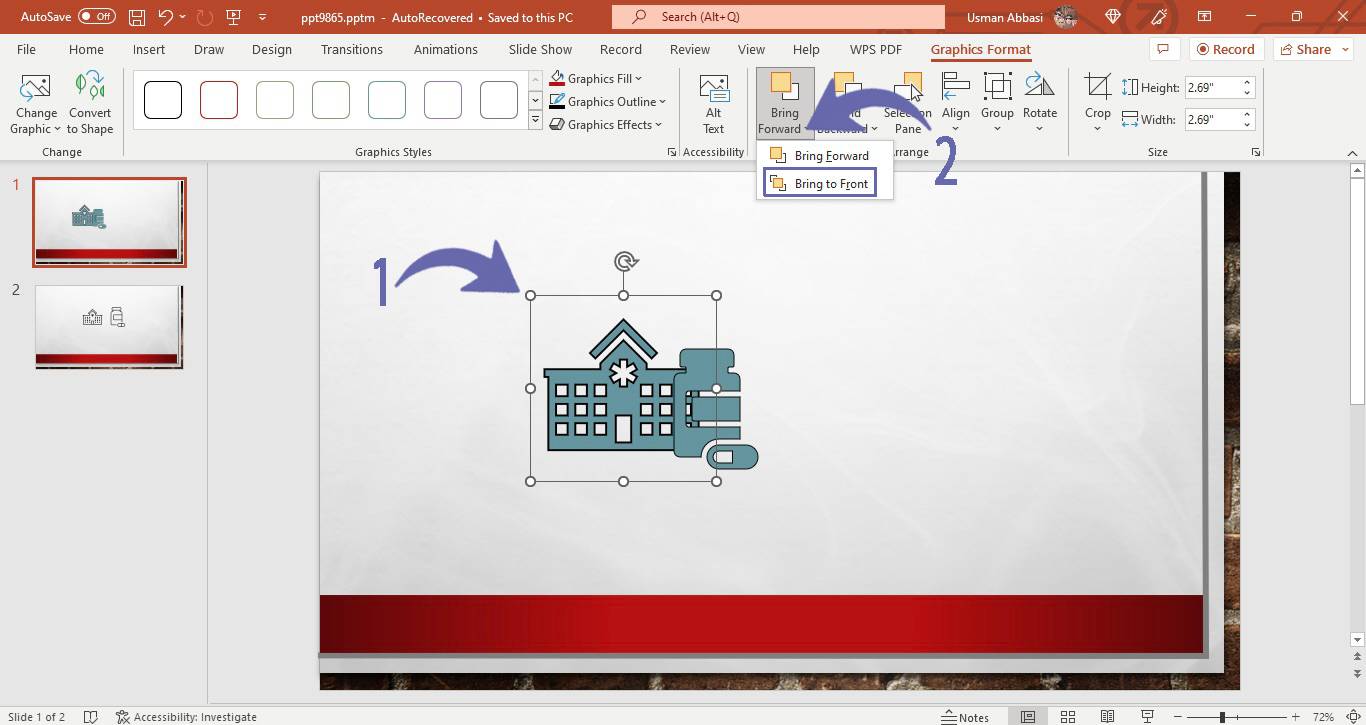
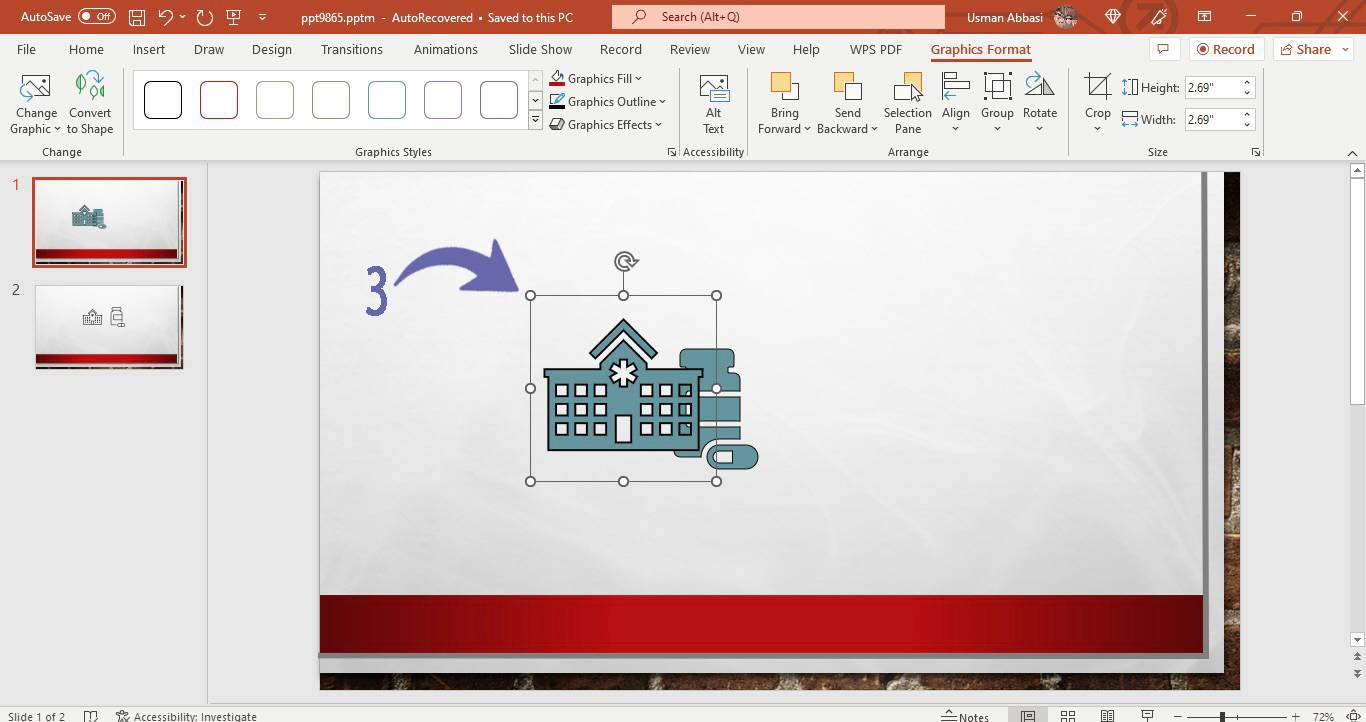
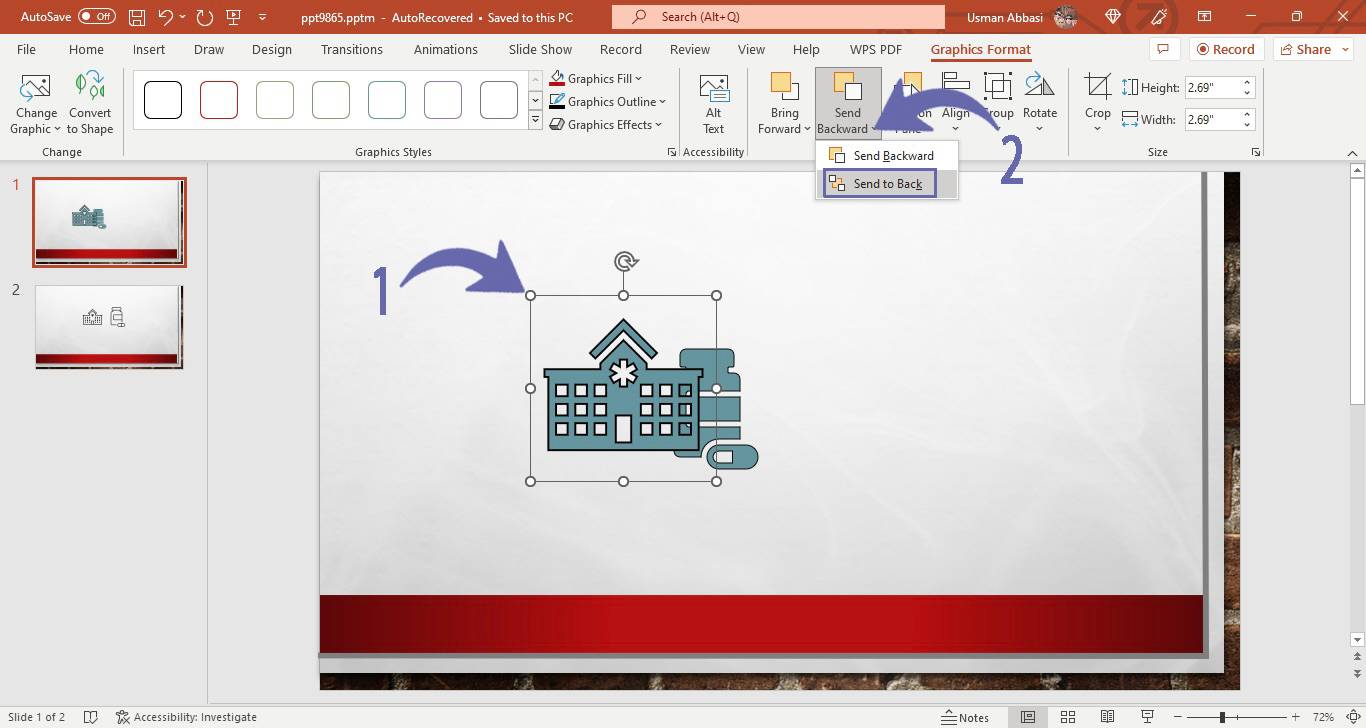
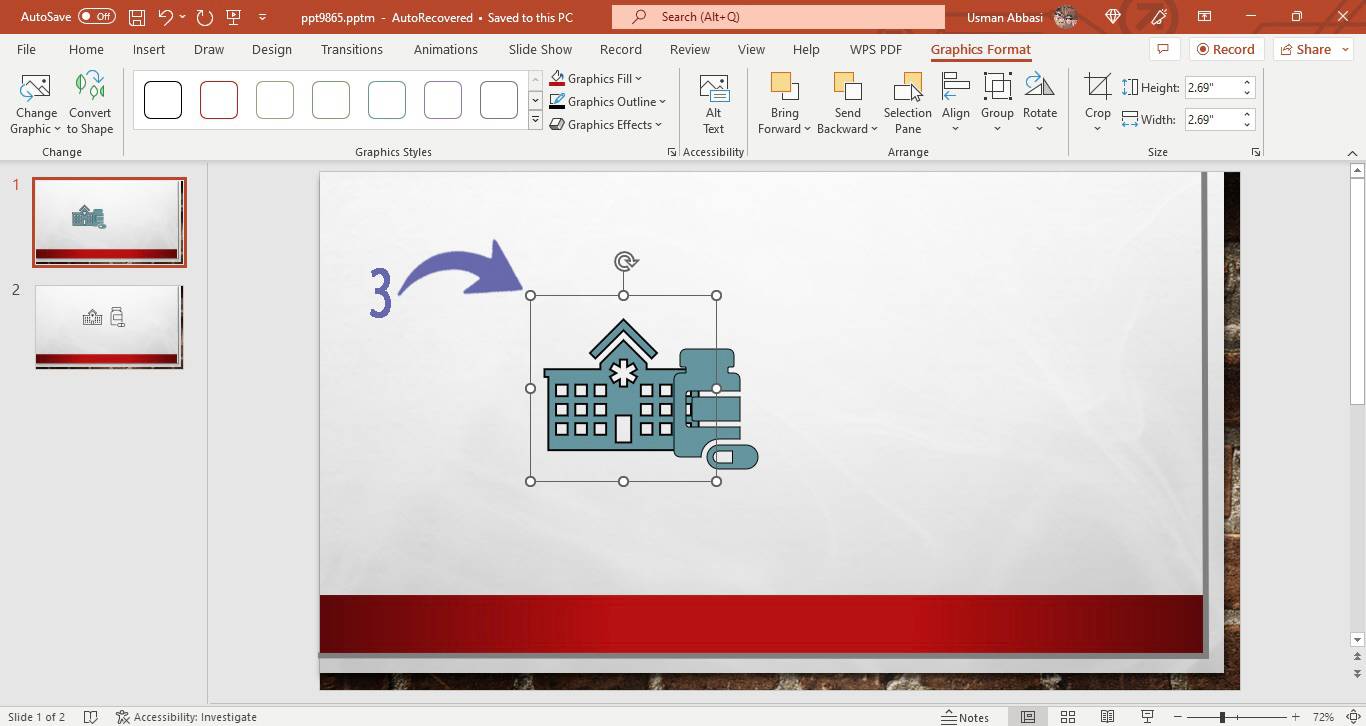
How to adjust the arrangement of an icon in PowerPoint
1. In the “Arrange” group, a few icon arrangement options will appear i.e.,
Bring Front (select this option to bring the icon to the front or click the “Bring to Forward” to bring the icon one layer forward)
Send Back (select this option to send the icon to the back or click the “Sent Backward” option to send the icon one layer backward)
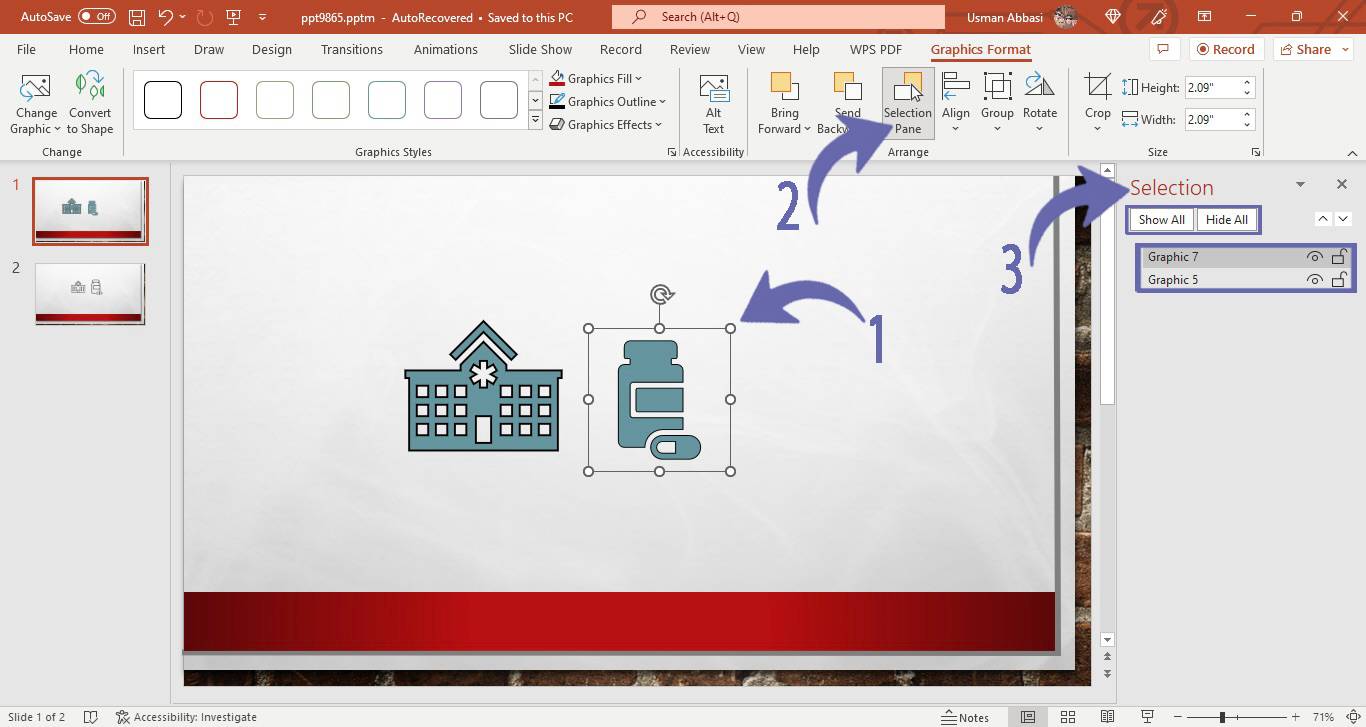
Selection Pane (Click this option and a window will appear on the right side with a few-layer option i.e.,
Hide /show layer, Lock / unlock the layer and you can also change the position of the layers by dragging and dropping method)
How to adjust the alignment of the icons in PowerPoint
1. From the “Arrange” group, click the Align option
2. A drop-down menu will appear with a few icon alignment options
3. Pick your desired alignment option
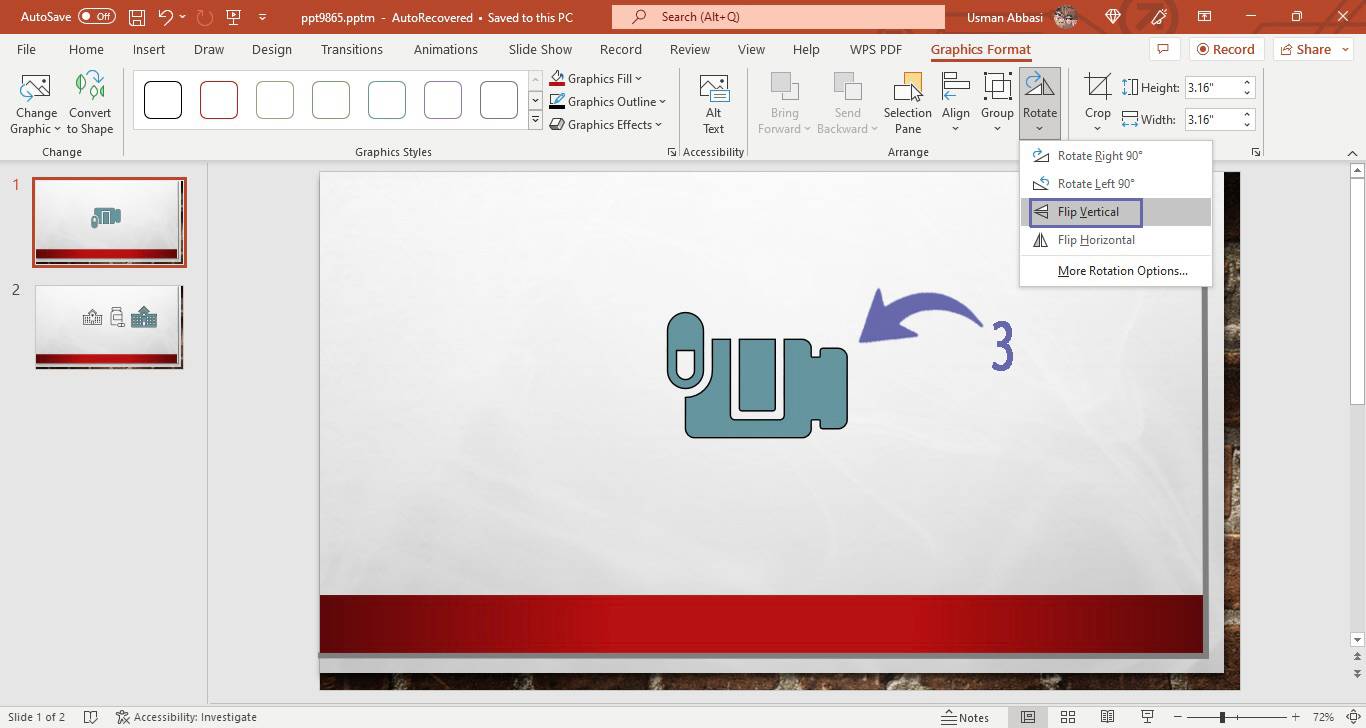
How to adjust the position of an icon in PowerPoint
1. From the “Arrange” group, click the “Rotate” option
2. A drop-down menu will appear with a few icon positioning options concerning different degrees
3. Pick your desired option to better position your icon
How to adjust the size of an icon in PowerPoint
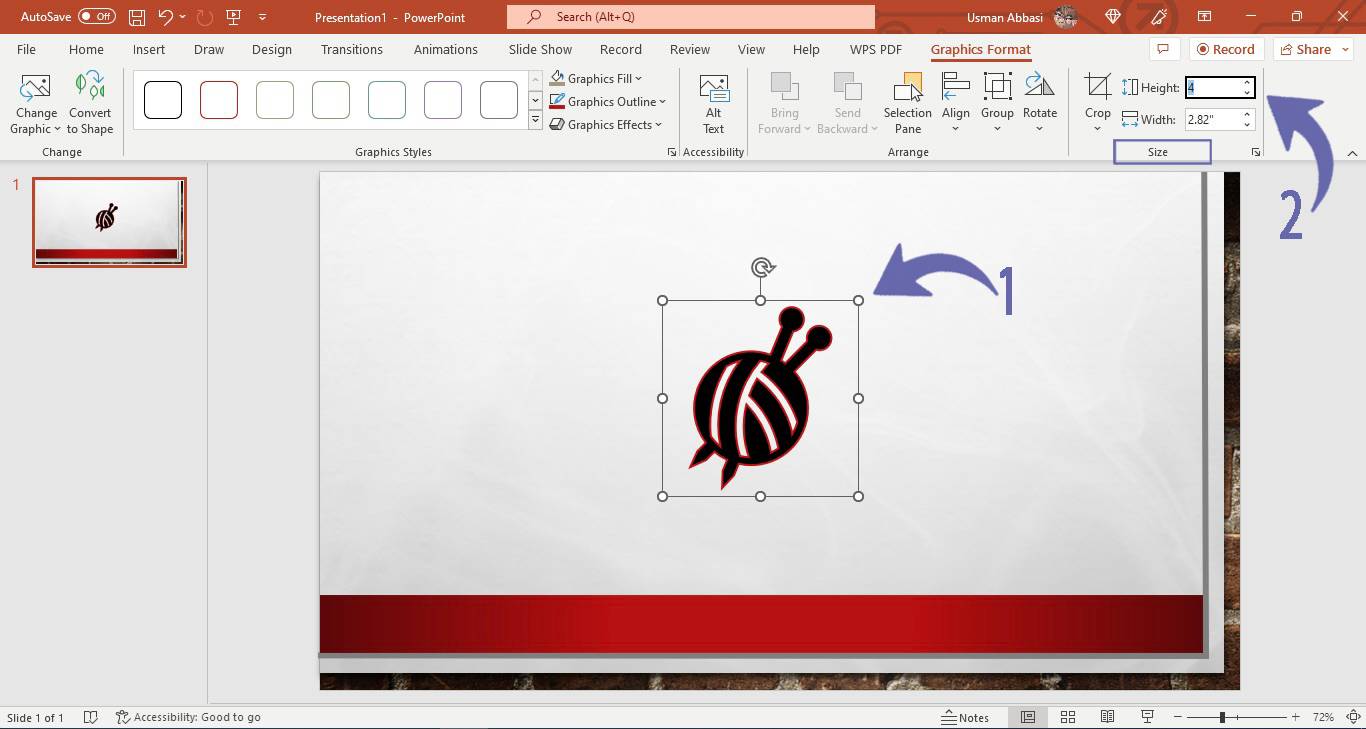
1. In the “Size” group, two options will appear i.e.,
Height (to increase/decrease the size of the icon concerning height, click this option and enter the value in the text box to adjust the height of the icon)
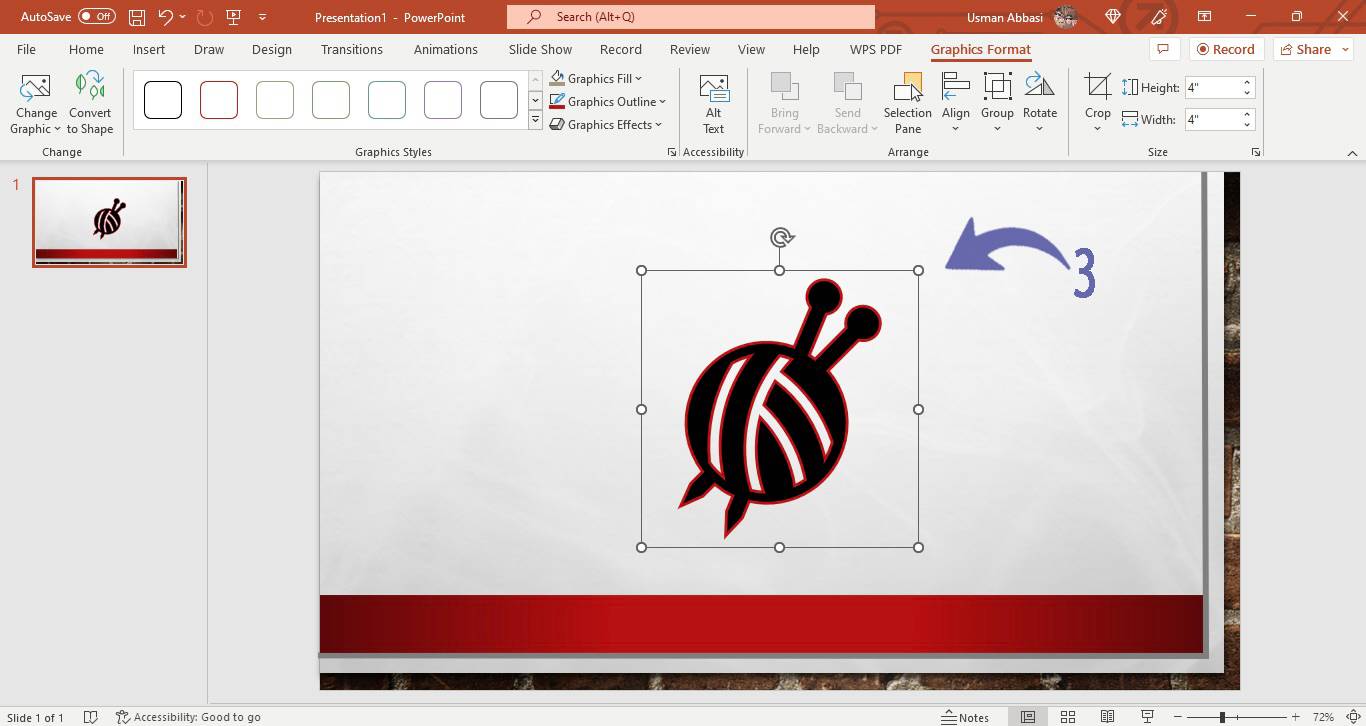
Width(to increase/decrease the size of the icon concerning width, click this option and enter the value in the text box to adjust the width of the icon)
Shortcut key: Ctrl + Shift+hold and to increase /decrease the size of an icon equally by dragging method. Use this shortcut key to avoid distortion
How to crop an icon in PowerPoint
1. From the “Arrange” group, click the “Crop” option
2. Drag the handles of the select icon box to crop it
Pro-Tip: when you will crop the icon it may also cut the central part of your icon, it is better first to convert the icon into shape, and then you can easily remove the icon part that you don’t want to keep
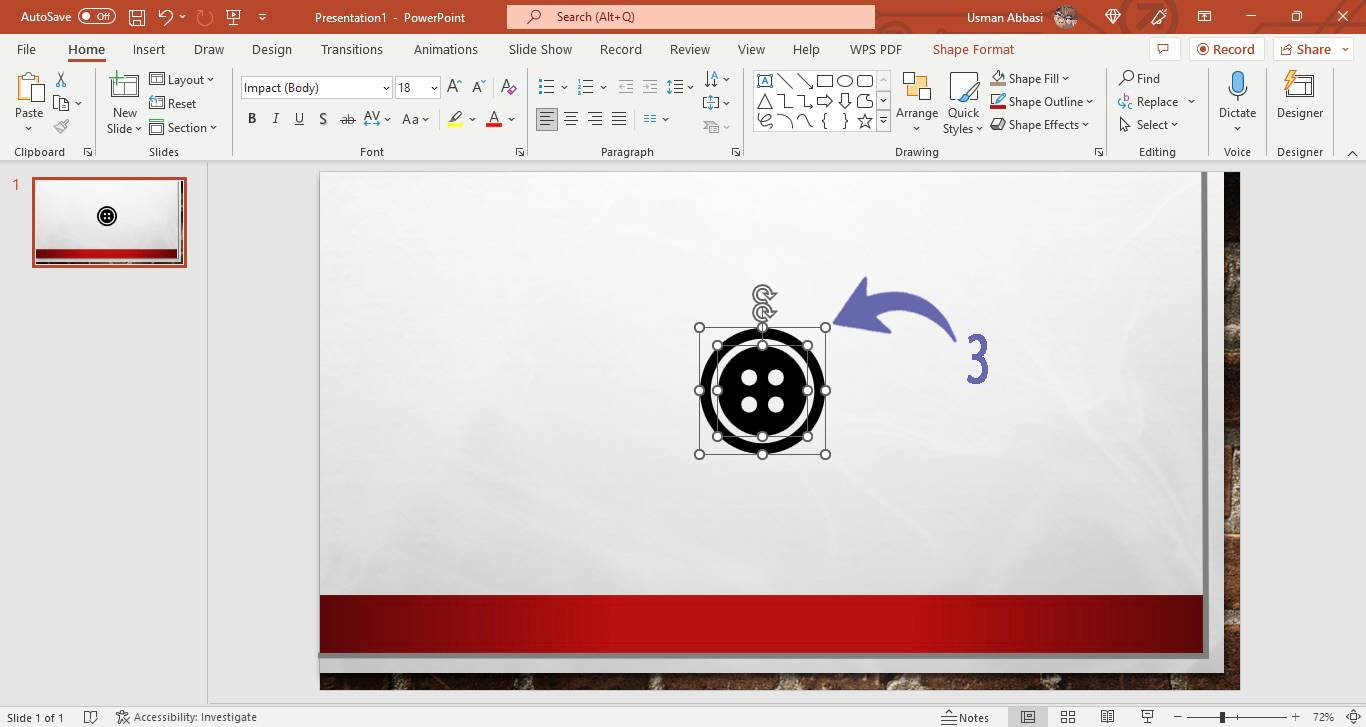
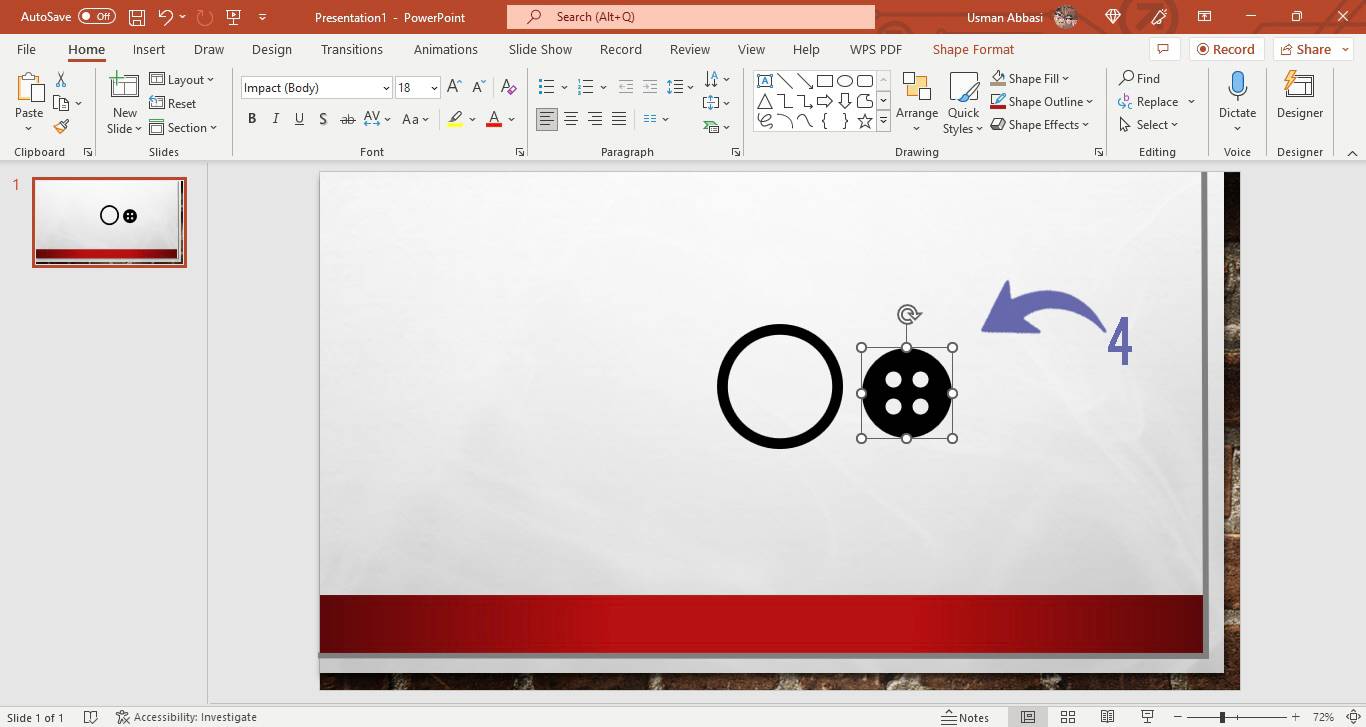
How to convert an icon to the shape in PowerPoint
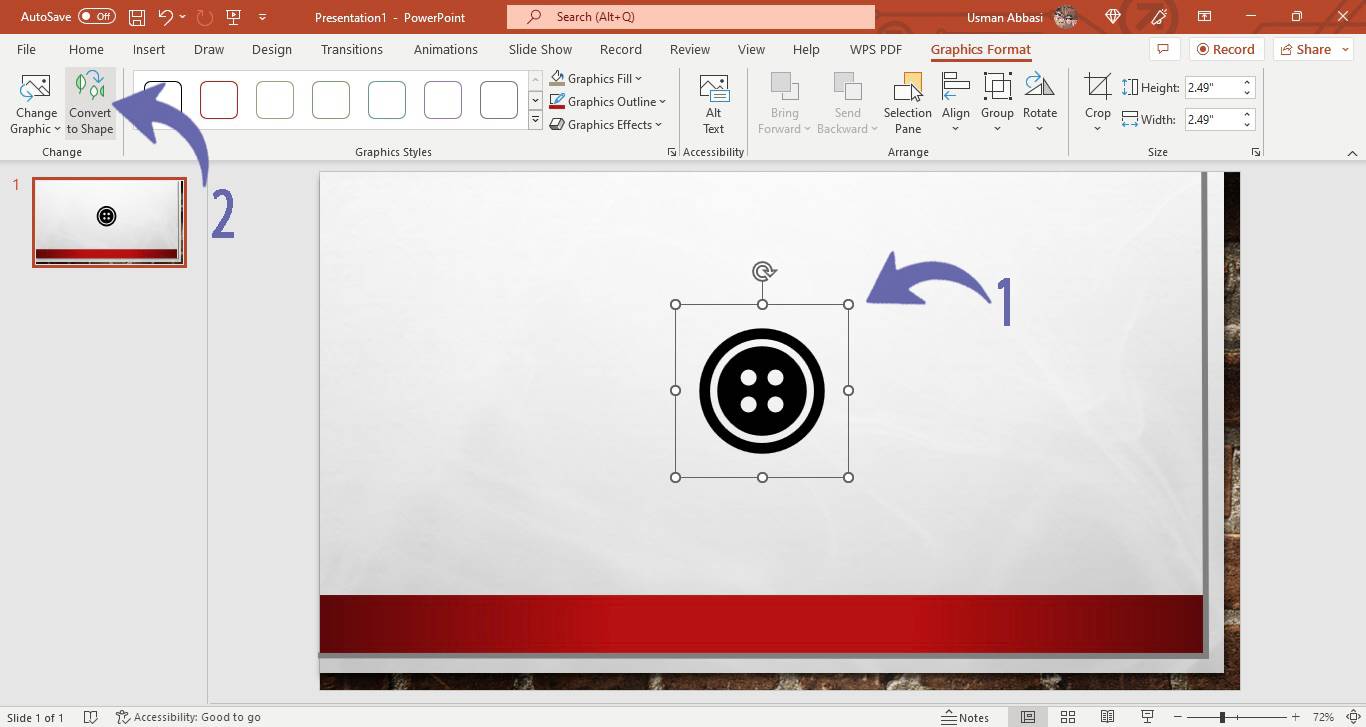
1. From the “Change” group, select the “Convert to Shape” option
2. Now you can easily edit your icon
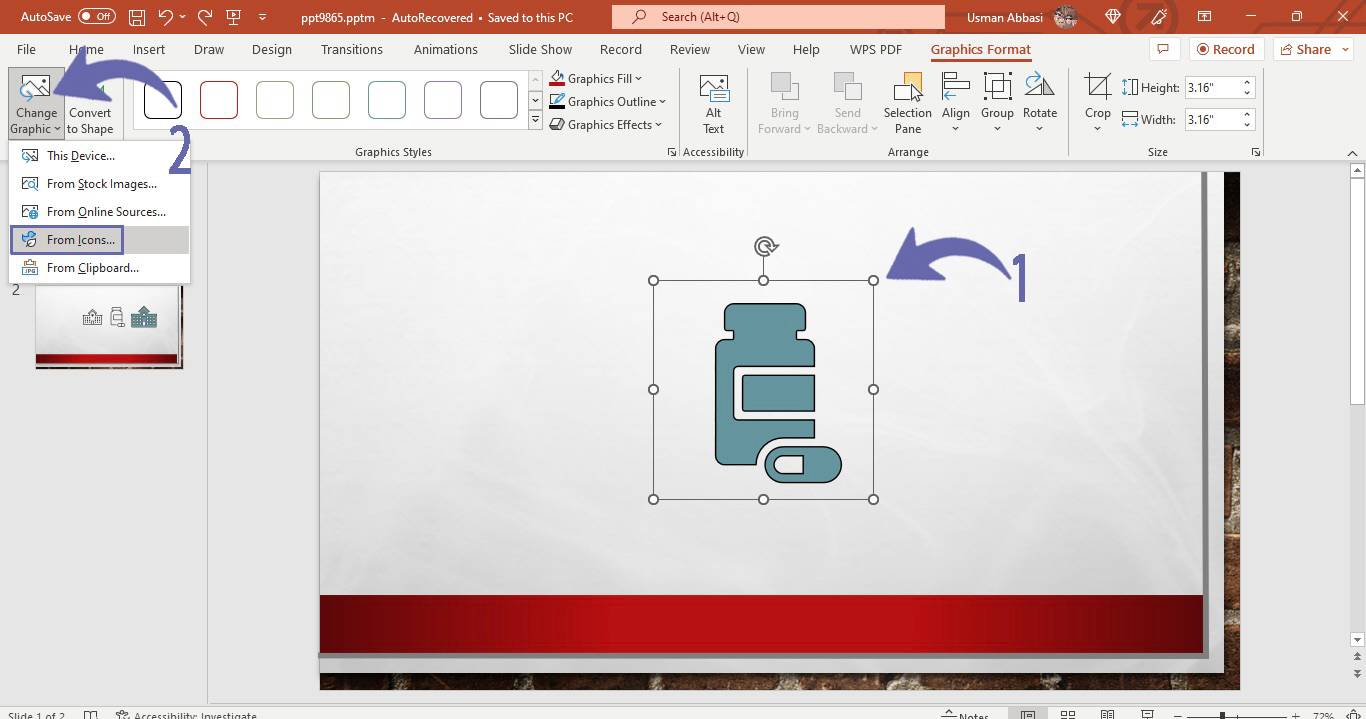
How to quickly replace an icon in PowerPoint
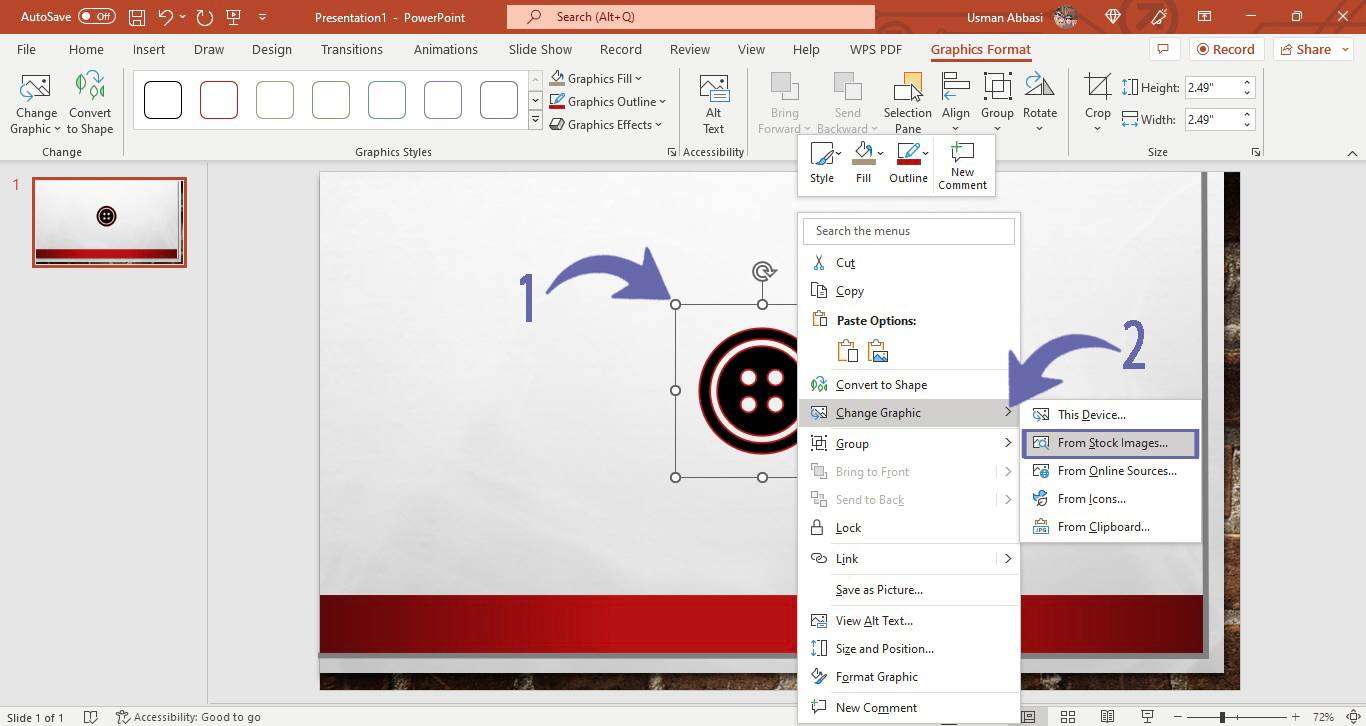
1. Select the icon, then right-click, and a drop-down menu will appear
2. Choose the “Change Graphic” option and from the menu select the”From the icon” option
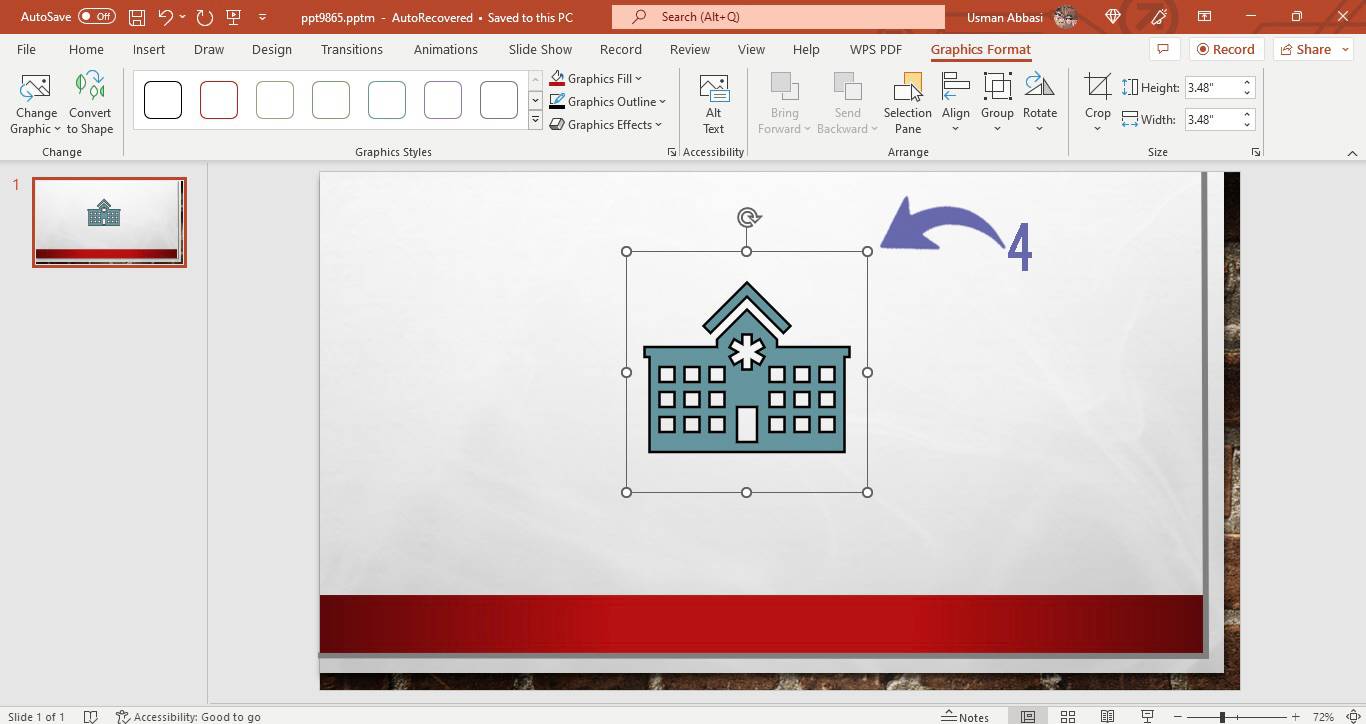
(The effects, size, and position of your replaced icon will be the same as the previous one)
(This is the fastest way to replace an icon in PowerPoint)

2nd Method
1. From the “Change” group, select the “Change Graphics” option
2. Icon window will appear, search your desired icon in the search box and click “Insert”
3. Your previous icon will be replaced with the new one